It’s been a few weeks since the Osmo 360 was released, and many creators have released video reviews already. Since those original videos, the camera firmware has been updated, as has the desktop software, and the product has matured.
This camera gets a lot right, and gives you many great ways to record an image from a unique perspective. I’ve been using the camera since soon after launch, and while I’ve enjoyed using it a lot, I didn’t expect to like the single-lens modes as much as I do.
Compared to previous 360 cameras, it’s got a larger sensor, higher resolution, and it does a few things differently — can it improve on the Insta360 options? Time to dig in.
The basics
Rather than the tall form factor that most Insta360 cameras use, the Osmo 360 returns to a more squat shape with a wide screen rather than a tall one. A squarer form factor was used on the GoPro Max, and on my first 360 camera, the Xiaomi Mijia Mi Sphere, but Insta360’s cameras have always been vertical, and they’ve been dominant for some time — so it’s nostalgic to see a return to this shape. If you prefer landscape delivery to portrait, being able to see a more accurate widescreen preview of the finished image is a clear win, and a major difference from the taller screen that Insta360 cameras have used.
While there’s a microSD slot in the battery compartment, it’s effectively optional, as there’s just over 100GB of free space built in to the camera. This is enough for a day of occasional shooting, and a great safety net should you leave the microSD card back at the office.
With lenses on both sides, more adventurous shooters sometimes worry about scratches, but I haven’t had any problems yet with damaged lenses. Two protective options come with the camera: the neoprene storage bag, or a harder rubber lens cover. Either seems to do the job, but I prefer the bag myself.
Since you’ll sometimes put down the camera and walk away, it’s handy to be able to control it in a few different ways. For stills, you can set a delay before the photo is taken. For video, you can use the DJI Mimo mobile app to control the camera, or use gesture control (an open palm to stop or start recording) or use voice control, simply saying “start recording” or “stop recording”. A firmware update just introduced another option: Twist Shot, where you twist the selfie stick twice to start recording. At time of writing, it’s not possible to control the camera using a connected Apple Watch, but the other options have been good enough.
The screen uses a tapping and swiping-from-the-edges interface which will feel familiar if you’ve used any DJI or Insta360 camera in the last several years. The camera’s UI is snappy, it’s quick to start up, and it’s easy to switch between settings.
If you tap on the icon showing the active mode in the lower left you can choose another mode, and if you tap in the lower center you can change settings in the current mode. The 360° options include several special shooting modes, including timelapse, still image, video, and slow motion, while the single-lens modes include still images (at a lower resolution), Video, and a wide-angle Boost Video mode. I would love to see a Timelapse/Hyperlapse mode added to the single-lens side of things, as well as a high-resolution single-lens still option.
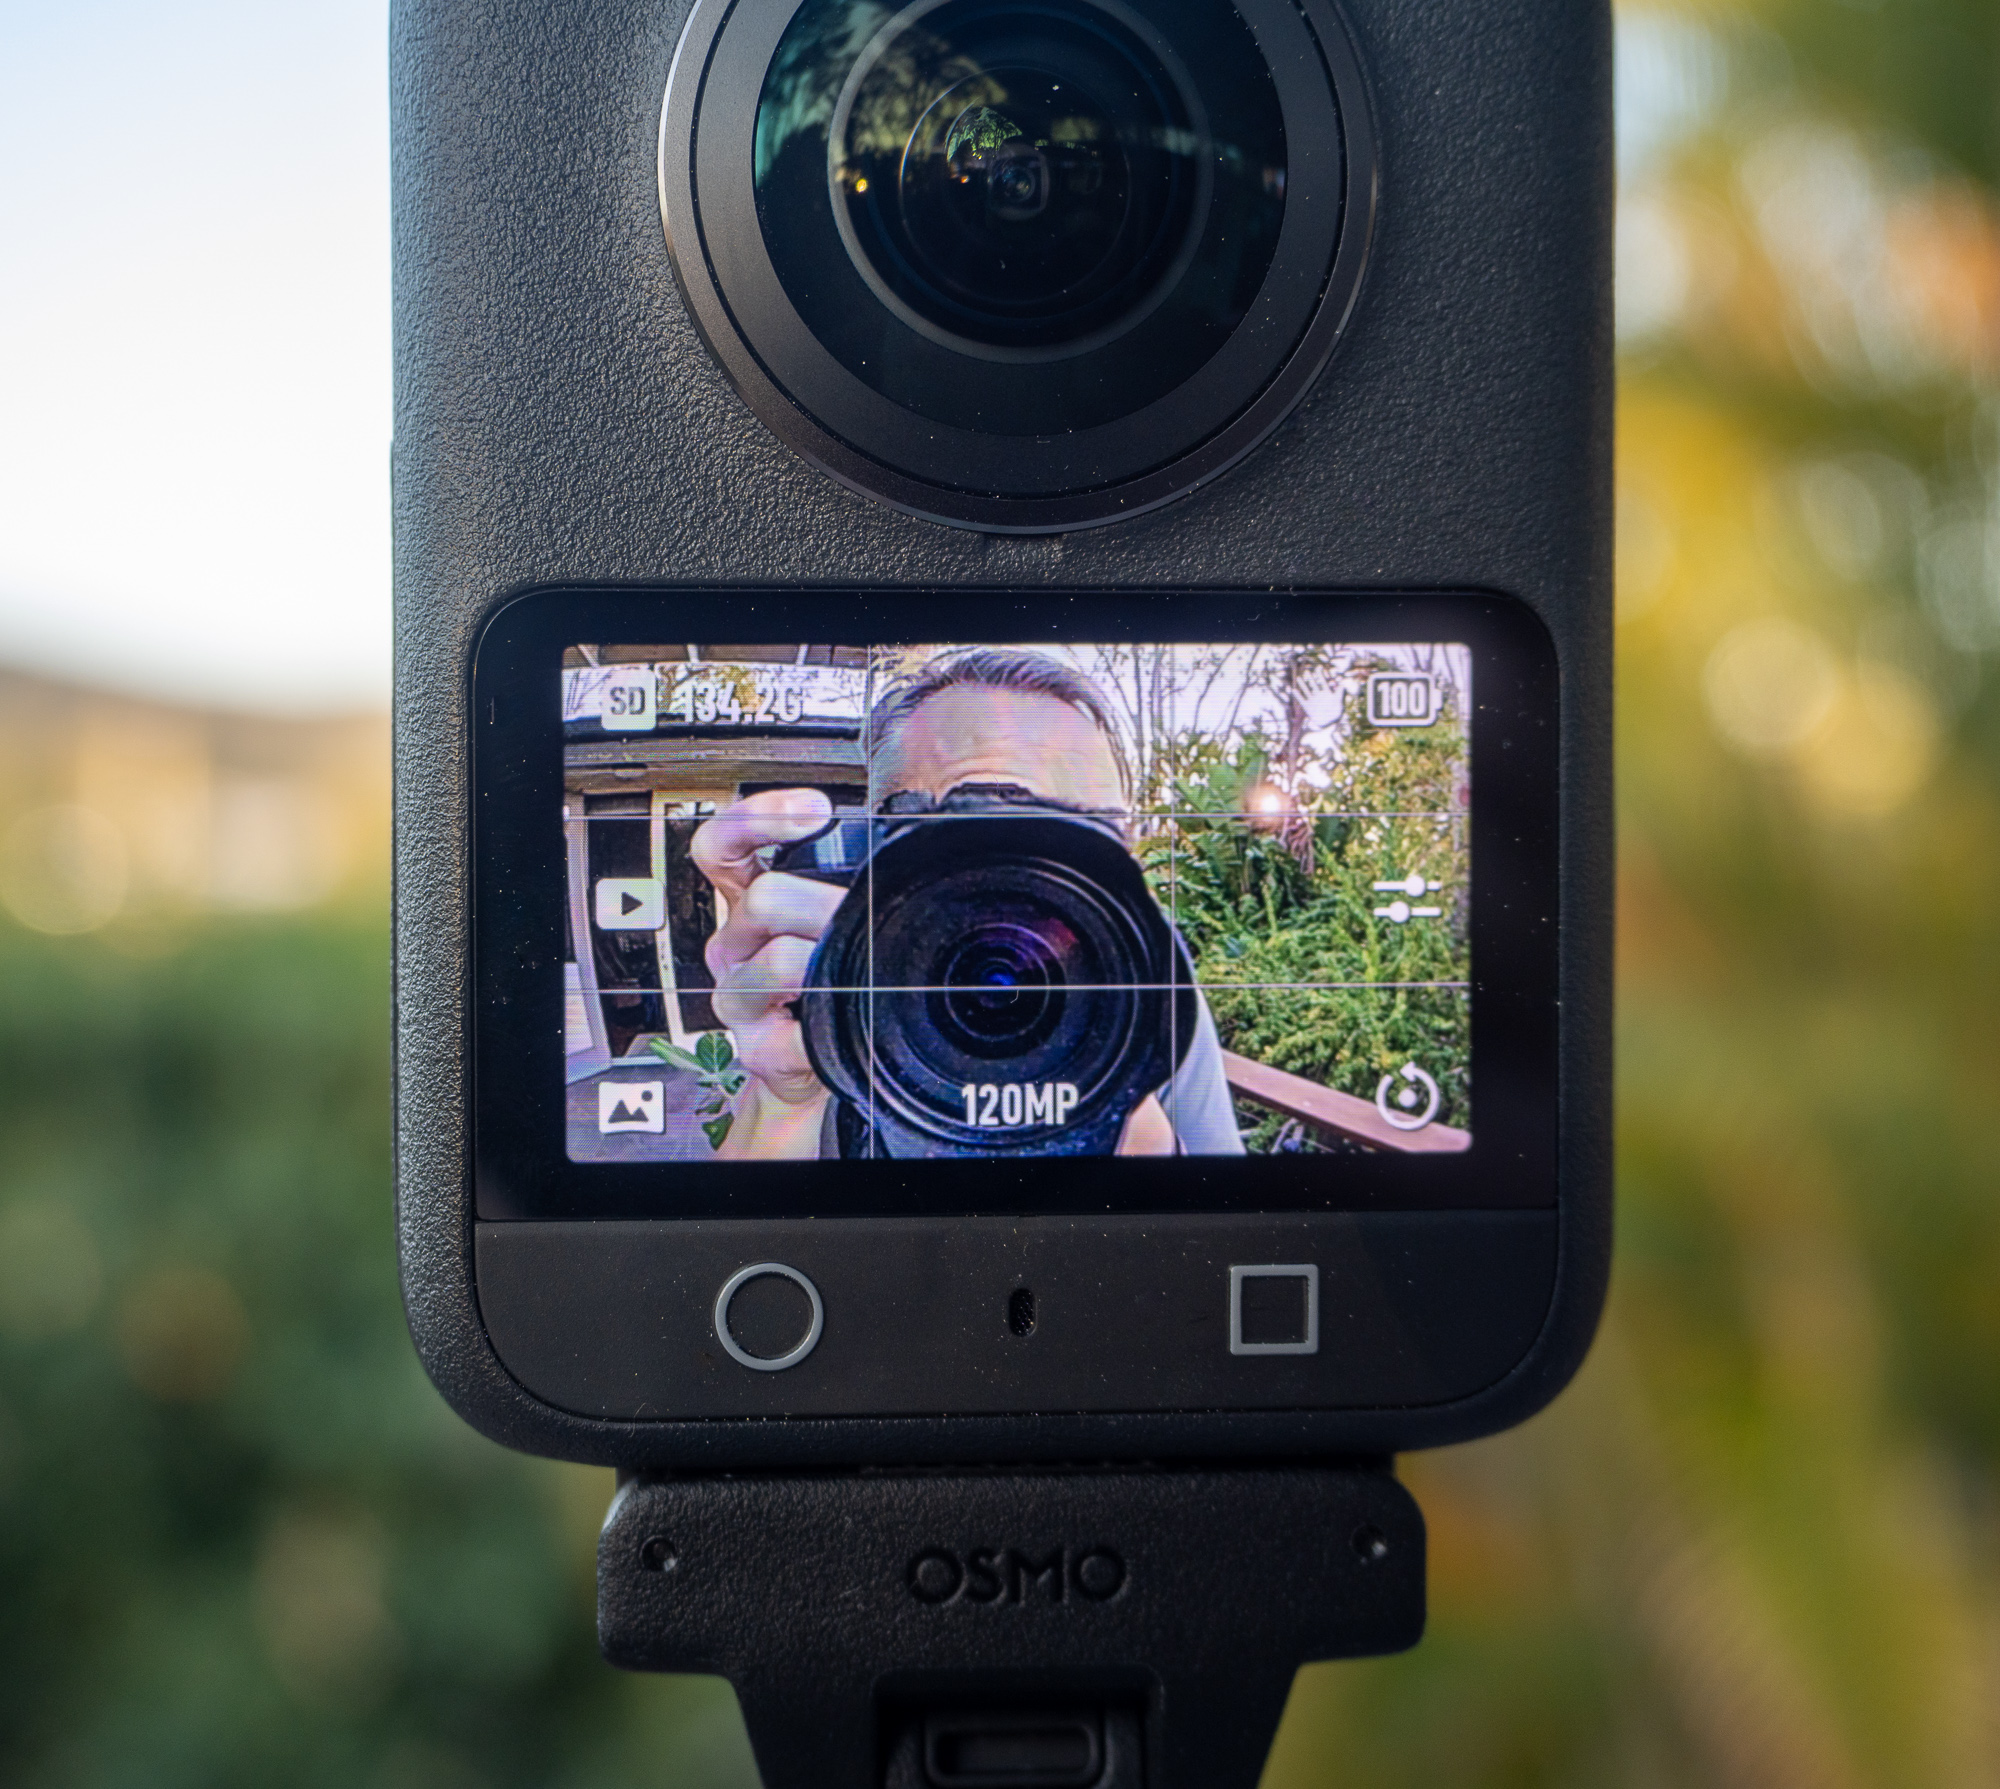
Each of these modes has several resolution and frame rate combinations to choose from, topping out at 8K 50fps in 360° video mode, 5K 60fps in single lens video mode, or 120MP (a colossal 15520x7760px) for 360° stills. Resolution has always been an issue for 360° cameras, because you’re spreading a limited pixel budget across a wider field of view than regular cameras do, but this camera has better specs than anything else near its price.
The fact that a tiny consumer camera can capture 15.5K across is pretty great, and viewing it in my Apple Vision Pro (in a third party app like Kandao XR) shows off more detail than any 360° shots I’ve seen before. Even better: the camera stitches these shots in-camera, so there’s no need to post-process them before viewing. Affinity Photo can open equirectangular shots (Layer > Live Projection > Equirectangular Projection) and correct them, so it’s easy to view these shots on a Mac or PC too.

Unfortunately, JPEG is the only option for 120MP stills; no RAW and no bracketing — a problem for virtual tours. In tests against my older Insta360 RS 1-inch 360 edition camera, the dynamic range was very similar, but the Osmo clearly won on detail.

This 360°/single-lens switch is at the heart of the camera, and this transition can only be made through the touch screen. While the power button can be held to power or or off, or tapped briefly to switch between different modes, you can’t switch between 360° or single lens modes this way. In some ways it’s a shame that the options aren’t more unified, because my favorite ways to use this camera are for 360° stills and single-lens regular video, but I’m probably not a typical user.
Why those two modes? Because neither of these modes require any kind of post-processing. While all the 360° video modes require a pass through DJI Studio, the 360° stills don’t, and the single-lens video modes don’t either. It’s really important to realize that this isn’t only a 360° camera, but could easily replace (or better) an action camera like the DJI Action or Insta360 Ace Pro. If you do want this camera to potentially be used as an action camera, think carefully about which bundle you go for, and what accessories you choose to go with it.
Bundles and Accessories
The base camera is available in the Standard Combo or the Adventure Combo. Both include a basic selfie stick and a battery, while the Adventure Combo also includes a tilting adapter mount, two extra batteries and a charging case. To use the Osmo 360 as an action camera, you’ll want the tilting mount.

A simple switch below the camera on the opposite side allows movement between straight up (good for 360° use) and a single tilted angle (68°) that makes hand-holding much more comfortable for selfie shoots or looking out — depending on which lens you’re using. Though it may initially seem that a single tilt angle isn’t enough, in fact it’s just fine, and impossible to position incorrectly. You can’t even put the camera on backwards, because the magnets will stop you. Be sure to set the angle straight for 360° use or the selfie stick will become visible.

Importantly, if selfie mode is your main focus, you should consider the Battery Extension Rod, which is excellent. Including a built-in tilting adapter, three control buttons and a large internal battery, if you buy this you may not need to purchase the Adventure Combo.

Through electronic connections on the mount which interface with the camera, the buttons can start and stop recording or take stills, switch between different modes, and switch between the two lenses in single lens mode. It’s also possible to add a tripod below with the built-in 1/4-20 socket. If you want to document your travels, it’s a great option, but if your focus is more on 360° shooting, there’s another selfie stick to consider.
The DJI Osmo 2.5m Extended Carbon Fiber Selfie Stick doesn’t include a long battery or a tilting adapter, but its huge reach does let you put the camera in otherwise unreachable places. If you’ve ever seen a 360° camera used like a drone, but in a place where a drone would be unsafe or illegal, it was probably a very long selfie stick like this. You’ll probably want to use this mostly in 360° mode, so the tilting aspect of the adapter is less critical, but it’s still useful to be able to magnetically attach the camera. Here’s a 360° shot I took with this monster selfie stick:
Battery life in the camera alone is good, but if you want to be able to film all day, I’d recommend grab the Adventure Combo or the Battery Extension Rod. To tempt you further, if you’re already in the DJI ecosystem, the batteries are compatible with other DJI cameras, the magnetic tilting mounts are compatible with DJI Action cameras, and DJI Mics work throughout the range too. As anyone with a range of Apple gear knows, ecosystems can be powerful.
OK. Let’s dive into some details.
Specs
Several features will be attractive to post-production professionals. First, all the modes here are 10-bit, so you won’t see banding in skies even after correction, and grading is more forgiving. Second, D-Log M is available to help you retain more dynamic range — important with wide shots outdoors. Third, in “Pro” mode, which you’ll surely switch to almost straight away, you can control the Texture (aka sharpening) and Noise Reduction for each mode, and importantly, each mode remembers its own setting.
If you turn Texture down to -2 for single-lens video but prefer 0 for 360° video, that’s totally fine, and up to you. I prefer the look with Texture at -1 or -2, and Noise Reduction at -2, but run your own tests to discover where your preferences sit. In general, it’s better to sharpen less at capture time and more in post production, but you may prefer to sharpen in camera for a quicker workflow.
When working in 360° mode, you can turn the resolution down to shoot at higher frame rates, but 50fps at 8K hits a sweet spot for most, enabling some slow motion without compromising image quality.
While you’re obviously recording everything around the camera in the 360° modes, In the single-lens modes, you’ll helpfully be told the approximate equivalent field of view of each mode as you choose it.
Use Boost Video mode for the highest frame rates (up to 120fps) and largest field of view (6mm equivalent) with the warped edges of a traditional action camera. Regular Video mode offers higher resolutions (up to 5K) with lower frame rates (up to 60fps) and a narrower view. In Video mode, you have three field of view options. Use the “Standard (Dewarp)” option for a fully rectilinear view (15mm equivalent) or use Wide or Ultra Wide (12mm equivalent) if you’re happy with slightly warped edges.

Note that the dewarping does bring a little softness to the edges of the frame, but it’s not too objectionable, and the 5K resolution means you have room to zoom in if you want to. Both Boost Video and Video modes give you control over stabilization, but you’ll want it on unless you’re mounted on something solid. You’ll notice a slightly increased field of view if you turn stabilization off.
Data rate can be set to Standard or High, and you’ll probably want to choose High to avoid potential compression artifacts. Interestingly, the 5K 16:9 mode has a higher bit rate (5120×2880 @ ~120Mbps) than the higher resolution 5K 4:3 mode (5120x 3840 @ ~100Mbps). These data rates are still on the lower side for professional production, so you may prefer to shoot 16:9 over 4:3 to minimize any potential quality loss. On the other hand, that 4:3 aspect ratio is spectacularly useful if you need to deliver to landscape and portrait from a single shot, simplifying workflows considerably.
Speaking of post-production, let’s take a look at the software.
Software
DJI Mimo is a mobile app which lets you monitor the camera’s view, see details like the current ISO, shutter speed and exposure, and it can also process clips for quick sharing — like a tiny planet-style photo. Most video pros will end up using DJI Studio (the desktop app) that’s similar to the very good Insta360 Studio, with a few features missing.
One feature not current present is the ability to simply batch transcode all clips to equirectangular. The only way to convert is to make a project, with a timeline, then add the original clips and choose the output format you want, but that involves setting a new name for the timeline and getting a single clip out. If you want a simple 1:1 mapping between source clips and equirectangular clips, because you want to choose your angles and field of view in your NLE, or because you’re delivering in 360°, you simply can’t do it. There’s a plug-in for Premiere Pro which does let you work with the native clips, but you’ll need to pre-process your clips for FCP or Resolve.

Most users shooting 360° will therefore be spending a bit of time in DJI Studio, pre-editing, sorting out transitions, cutting and framing for eventual 2D delivery, and for that it works well. DJI Studio offers a variety of projection modes, tracking, and the ability to smoothly transition between various views — but I’d really like to see a batch processing option for those pursuing a full 360° workflow. Faster processing would also be welcome, but given the speed and frequency of updates — firmware and DJI Studio have both been updated more than once since releaase — I’m pretty hopeful.
If you do want to work with 360° footage in regular rectangular projects in Final Cut Pro, here’s a sneaky trick for you. Add your equirectanglar clips to a regular timeline, but rather than using a Normal projection, choose Tiny Planet. Reduce the Field of View, then set tilt to 90°, and you’ll be able to achieve a wider view than is normally possible. Of course, the wider the field of view, the more source pixels you’ll be using, and the higher your image quality will be.

Quality
Does the image look good? Yes. I’ve shot a lot of footage with the Osmo 360, spanning many different modes, aspect ratios and frame rates, and I’ve been pleasantly surprised at how “normal” the footage looks — it’s not over-sharpened. Most smaller cameras and phones compensate for a lack of pixels with over-processing and excessive noise reduction, but this camera allows you to turn all those options down. There does seem to be some auto-exposure correction around skylines, but in general, the image is clean and pleasant.
From comparisons online, the Insta360 X5 looks a little more processed, but there’s not a huge amount in it unless you pixel peep. Still, if you have an older 360° camera and are looking to update, the Osmo is probably the better choice if you’re fussy about image quality. All the single-lens options are very good for an action camera, where 10-bit Log is far from common, and the stabilization is great too. Audio is surprisingly clear, with multiple wind cancellation options, and you can connect a DJI Mic directly to the camera without needing a receiver if you want to. Happily, you can lock down ISO ranges and white balance for more predictable results.

Now that I’ve been able to quickly switch between front-facing and selfie cameras with a camera on a pole, I don’t really want to see the world through a phone screen, and an action camera doesn’t have the same flexibility. Note that in higher bitrate modes (which you’ll want to use) you can’t switch from front to back lenses seamlessly, and you also can’t record a dewarped image with both lenses at the same time. Instead, you’ll have to stop and restart recording with a brief pause between. Still, with dedicated hardware buttons to swap lenses and to start or stop recording (on the camera and the Battery Extension Rod) that’s a compromise I can live with.
The main reason to use a 360° camera is usually because you can’t be sure where the action will be, or you know it’s all around you. That’s when a long selfie stick shines. But since single-lens mode is so capable, this camera can get the job done even when you do know where to point it, and because it’s light and small, you can pop it in action-camera-sized spaces. You won’t, of course, get mirrorless camera quality from an action cam, but we’re getting closer, and 5K gives you room to zoom even when delivering 4K.
Conclusion
This camera lets you capture unique perspectives with fewer compromises than other action cameras or 360° cameras. If you want a regular view, you can record in single-lens mode, monitor your image or not, and you’ll be able to capture a good image that can take a bit of manipulation. If you want to capture everything, shoot in 360° mode, then process it. The Insta360 X5 is the closest competitor, but it can’t match the resolutions available in single-lens mode, nor the 50fps frame rate available in 360° video mode, nor the 120MP 360° still resolution.

The Osmo 360 with a Battery Extension Rod is my new favorite travel camera. Quality in single lens mode is very good, stability is great, and I can capture what I’m seeing without staring at a screen all day. If I want to capture a detailed snap of everything around the camera, I’ll shoot a 360° still for viewing on my Apple Vision Pro. If I want to quickly capture video in either direction, I’ll use the single lens mode for stable 5K video from a low or high perspective. And if I want to capture the action all around, of course I’ll switch into 360° video mode and process it later.
Early reviews dinged the Osmo for not having user-replaceable lenses, but the situation has changed somewhat since launch. Though you can’t order spare lenses in advance and replace them yourself, it’s even cheaper to swap out broken lenses if you can send your camera in to DJI. If you absolutely need instantly replaceable lenses, consider the Insta360 X5 or the upcoming GoPro Max 2.
The only other potential issue with this camera is availability in the US. Though you can pre-order it now, there’s currrently no firm release date. Fingers crossed this is fixed soon, but the rest of the world can enjoy it now. If you already have a recent 360° camera then this may not surpass it quite enough to tempt you, but for anyone else? It’s a great choice. The Osmo 360 is a solid option for anyone looking for a 360° camera or an action camera — recommended.
PS
It’s possible to film with two Osmo 360s side-by-side for excellent stereoscopic 3D video. More on that in a future article.