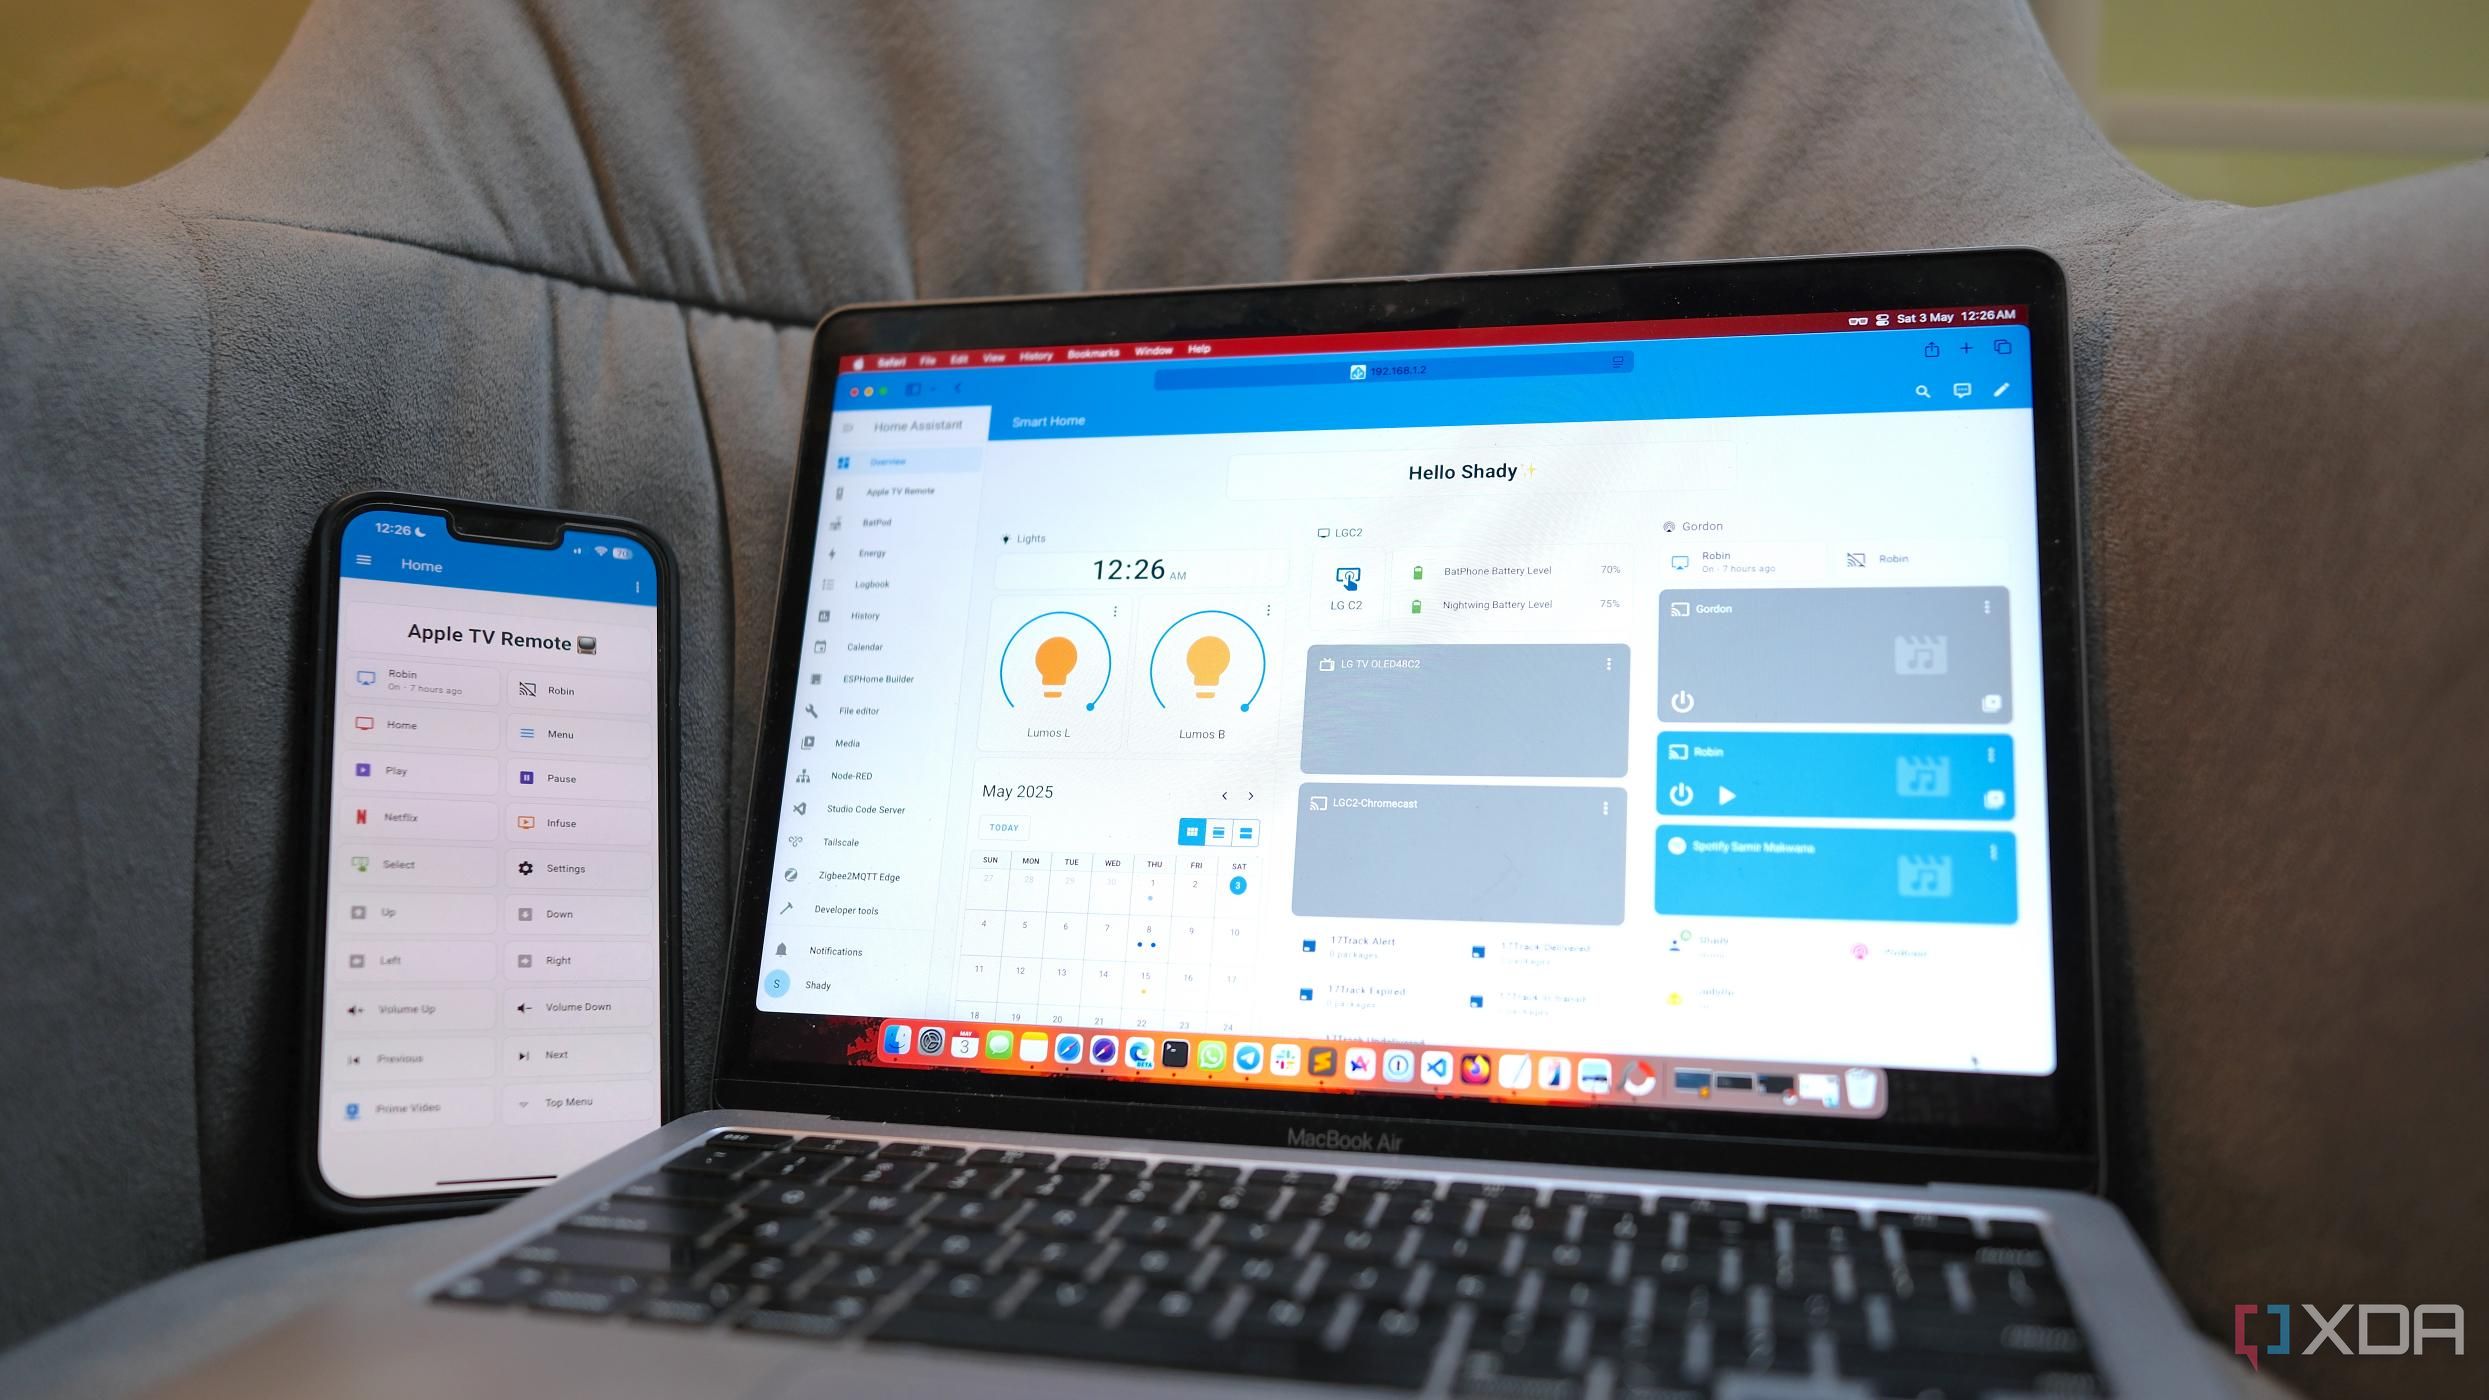
As someone who uses Home Assistant all the time, one of the most challenging (but fun) aspects of the software platform is figuring out ways to integrate it into my existing hardware and software services. As I’ve gone further down the rabbit hole, I’ve found increasingly weird and interesting ways to make it work, and one of my favorites has been the implementation of a “game mode.” There are two separate ways to make this work, and I combine both of them to work with both Steam and non-Steam games.
The first integration is the Steam integration. This requires an API key to poll data from Steam’s servers and get the online state of a player and their currently-launched game. The Steam Web API allows for 100,000 requests a day, so that’s probably more than enough for any basic usage such as this. The second makes use of HASS.Agent 2, and it can report the currently opened window on your PC. If the name matches a non-Steam game, then we can launch game mode, too. This article will assume you have those set up already.
Creating a “Game mode” helper sensor
This will track whether we’re gaming or not
First and foremost, we need to look at our two ways of identifying that a game has been launched and is currently running. Steam is a lot easier to focus on, as if you tab out of the game for a few seconds to check something, you’ll still be “in-game” according to our sensor, even if the game isn’t in the foreground. That isn’t the case for HASS.Agent, and I haven’t devised a workaround for that just yet. We can use the Steam integration to track whether we’re online or offline, and when we launch a game, the sensor will update with additional attributes.
This addition of attributes is incredibly useful, as it means we don’t need to poll for anything in particular. All we need to assert is whether the “game” attribute exists or not. If it does, that means we’ve launched a game, and we can use that to flip our switch. Otherwise, we know we’re not in a game, so we can just keep game mode off. This won’t work without a publicly viewable game state on Steam, but for most people, it’ll do the trick.
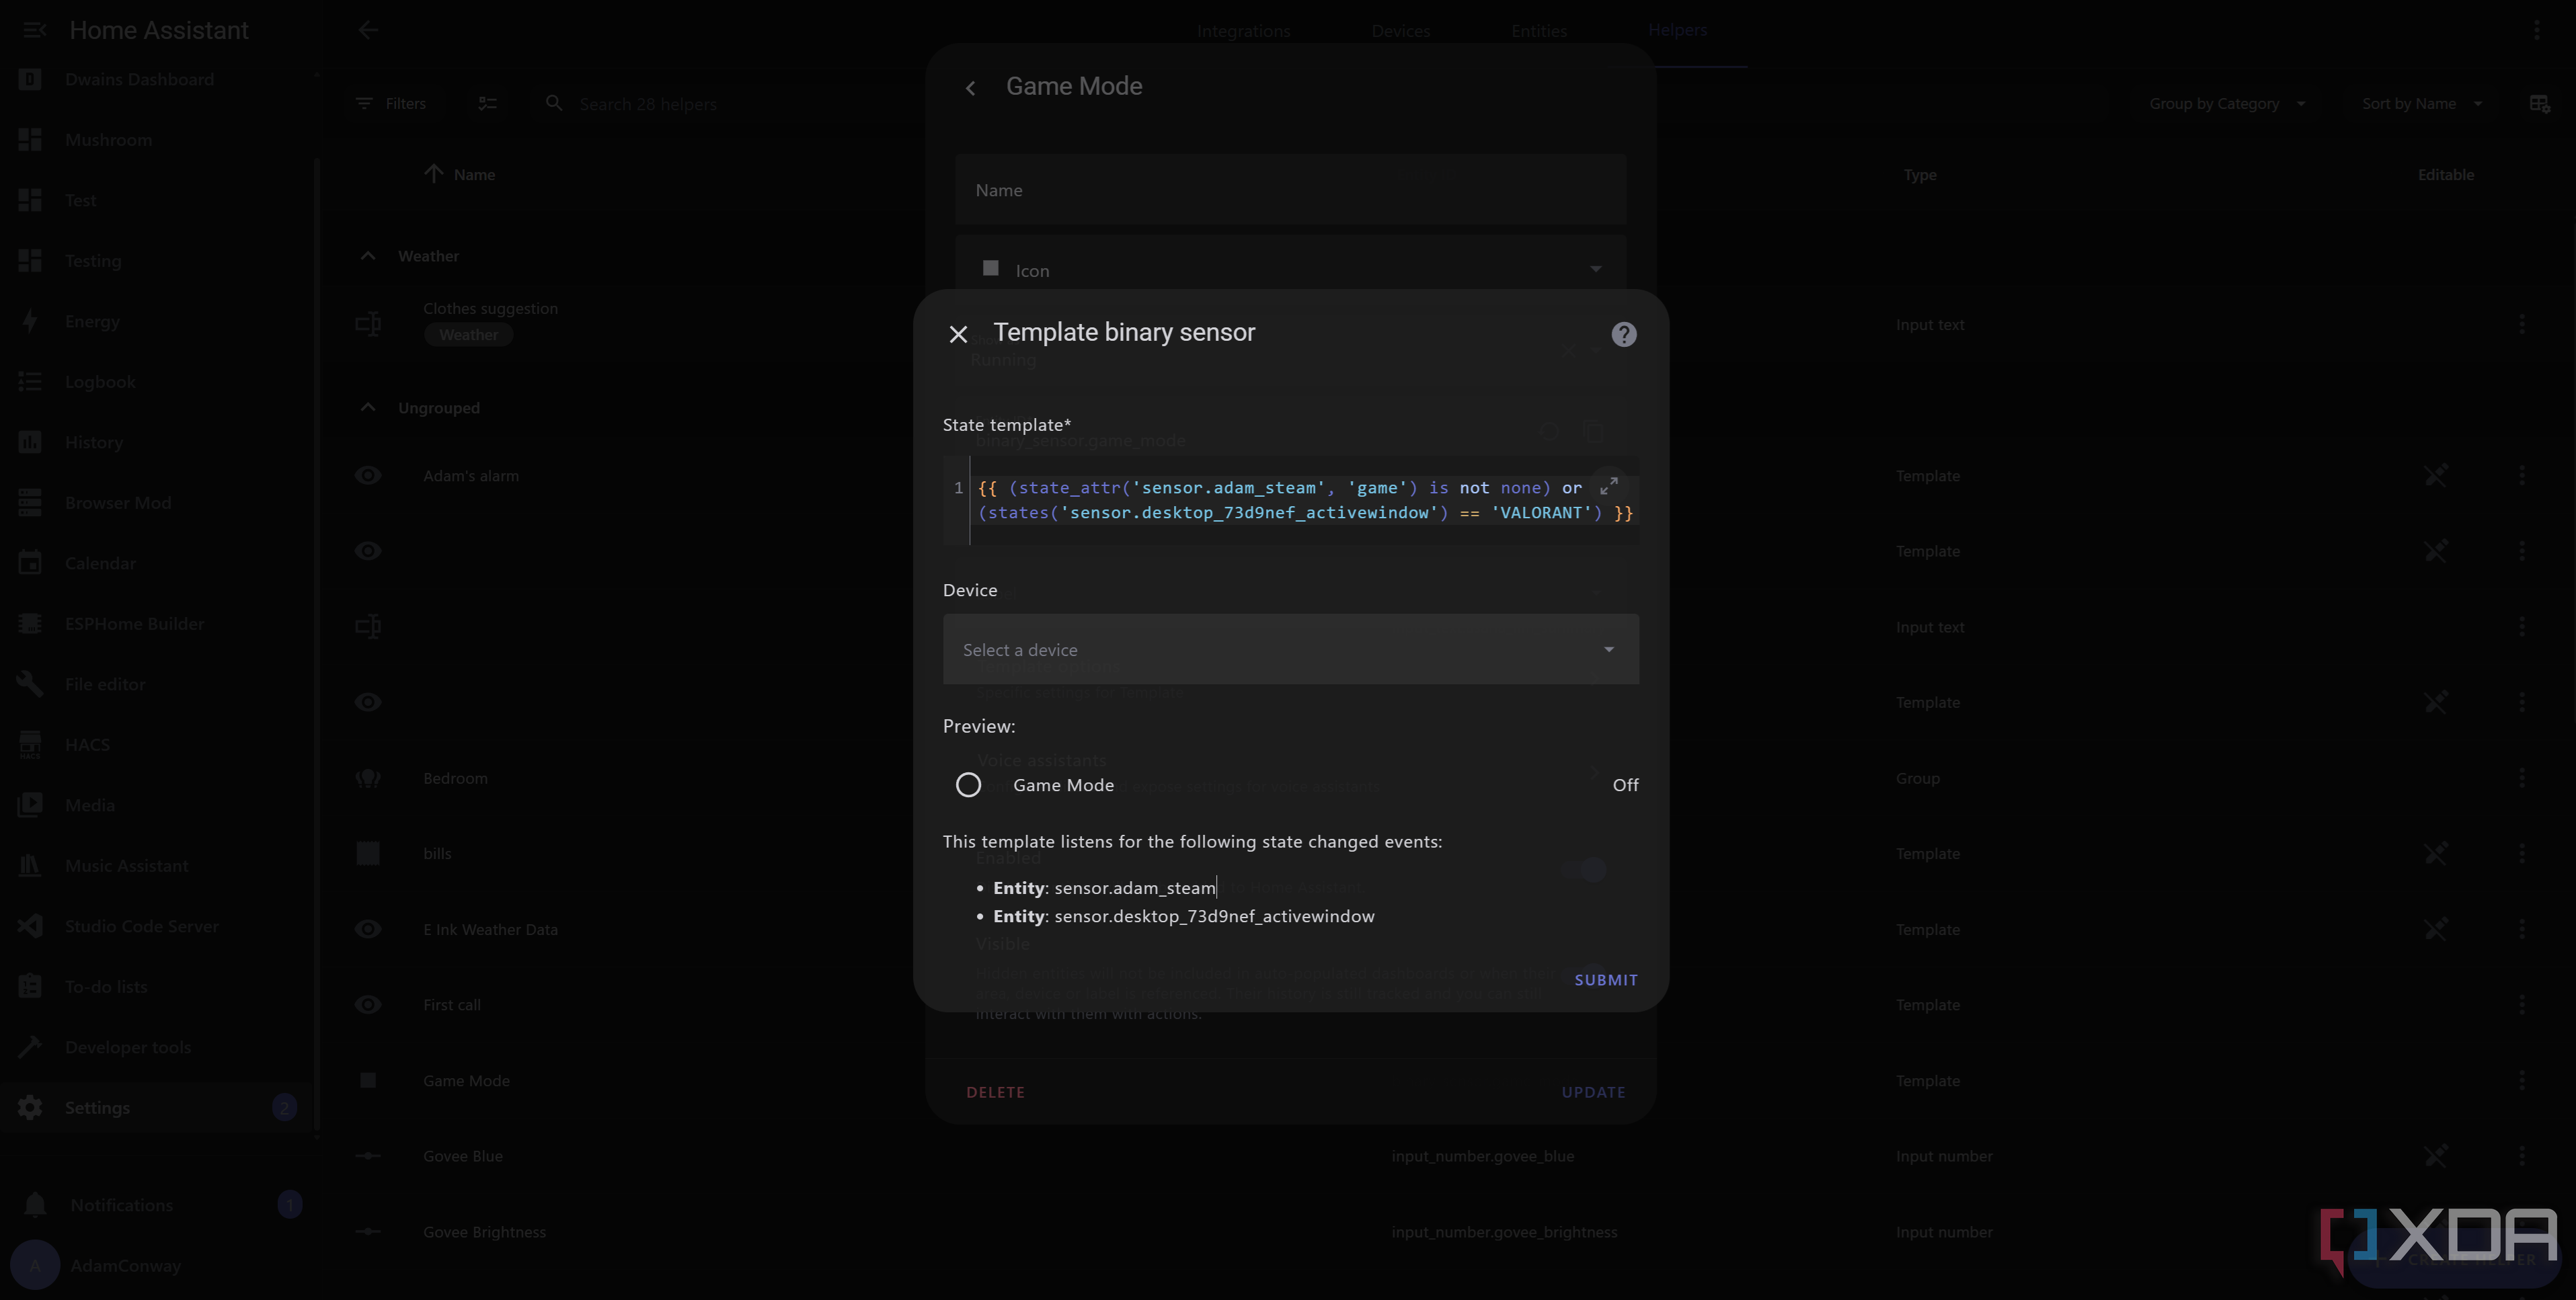
{{ (state_attr('sensor.adam_steam', 'game') is not none) or (states('sensor.desktop_73d9nef_activewindow') == 'VALORANT') }}
So, for now, we’ve devised a simple template binary sensor that defines whether game mode is enabled or disabled. We read if the “game” attribute exists in the Steam sensor, and we’ve also added an example configuration for a non-Steam game, Valorant. With this, we can already trigger an automation based on the current state of our game mode sensor.
Building your automation
A proof of concept deployment
Now that we can pick up when we’re gaming, it’s time to decide what to do with it. I already have my GoXLR linked to Home Assistant, and I also have my lights and phone linked up, too. The first and most obvious one is to set my phone to do not disturb mode, which can be done easily with Home Assistant. Essentially, you send a notification to the client device with the message “command_dnd”, and the data being “command: total_silence”. This makes the Home Assistant app change your phone to, well, completely silent mode, so you don’t get disturbed while you game. This is a pretty neat built-in feature of Home Assistant, and it works like the following:
actions:
- action: notify.mobile_app_cph2671
data:
message: command_dnd
data:
command: total_silence
Next, we add a “building block” section. Building blocks are a more advanced feature of Home Assistant’s automation prowess, and allow for things like waiting on a template to evaluate, doing a sequence of events, or having a nested if-then block inside of your actions. In this case, we check if the light in my office (where my PC is) is already on. If it is, we turn down the brightness and set the color to red. This is also quite simple in the YAML, and looks like this:
 - if:
- condition: state
entity_id: light.office_light
state: "on"
then:
- action: light.turn_on
metadata: {}
data:
brightness_pct: 5
rgb_color:
- 237
- 44
- 44
target:
device_id: 7443cc0d215861e4624f05e2ea6c3fb5
Finally, because of the GoXLR integration, we turn up the “Game” volume to 100% and decrease the music volume. This allows us to hear the game better and prevents music from muddying the sound if I’m already listening to music at the time. You could optionally set this to pause a Spotify media player instead of turning down the music channel, assuming you’re using Spotify.
That’s it! While it’s rather rudimentary, it demonstrates exactly how you could implement something like this. To reverse this and to save the states of devices before it was initiated, you would have your trigger detect any change of state, and create helper variables (such as an input_text) to save the data to in a sequence before enacting it. Then, with each action, you would check if the trigger was game mode being switched on or not. If it were switched on, you’d save the current state to the adjacent helper variable, then commit the action. If you wanted the reverse, you’d check if it changed from on to off, and if so, you’d then set the value of each device back to the value defined in your helper variable.
This is merely a demonstration of how you can build powerful automations in Home Assistant to control your entire home. You can do anything you want so long as the software is integrated, and you can collect data from all kinds of places to specifically influence a totally unrelated device. Launching a game on my PC can turn my phone to do not disturb automatically, without needing to actually touch my phone at all. It’s not even involved in the process, yet Home Assistant makes it possible. I’ve since fleshed this out considerably, and it’s become a vital part of my smart home experience. My next step is to change what’s written on my ePaper display beside me when I’m playing, so that I can truly relax and focus on the game.