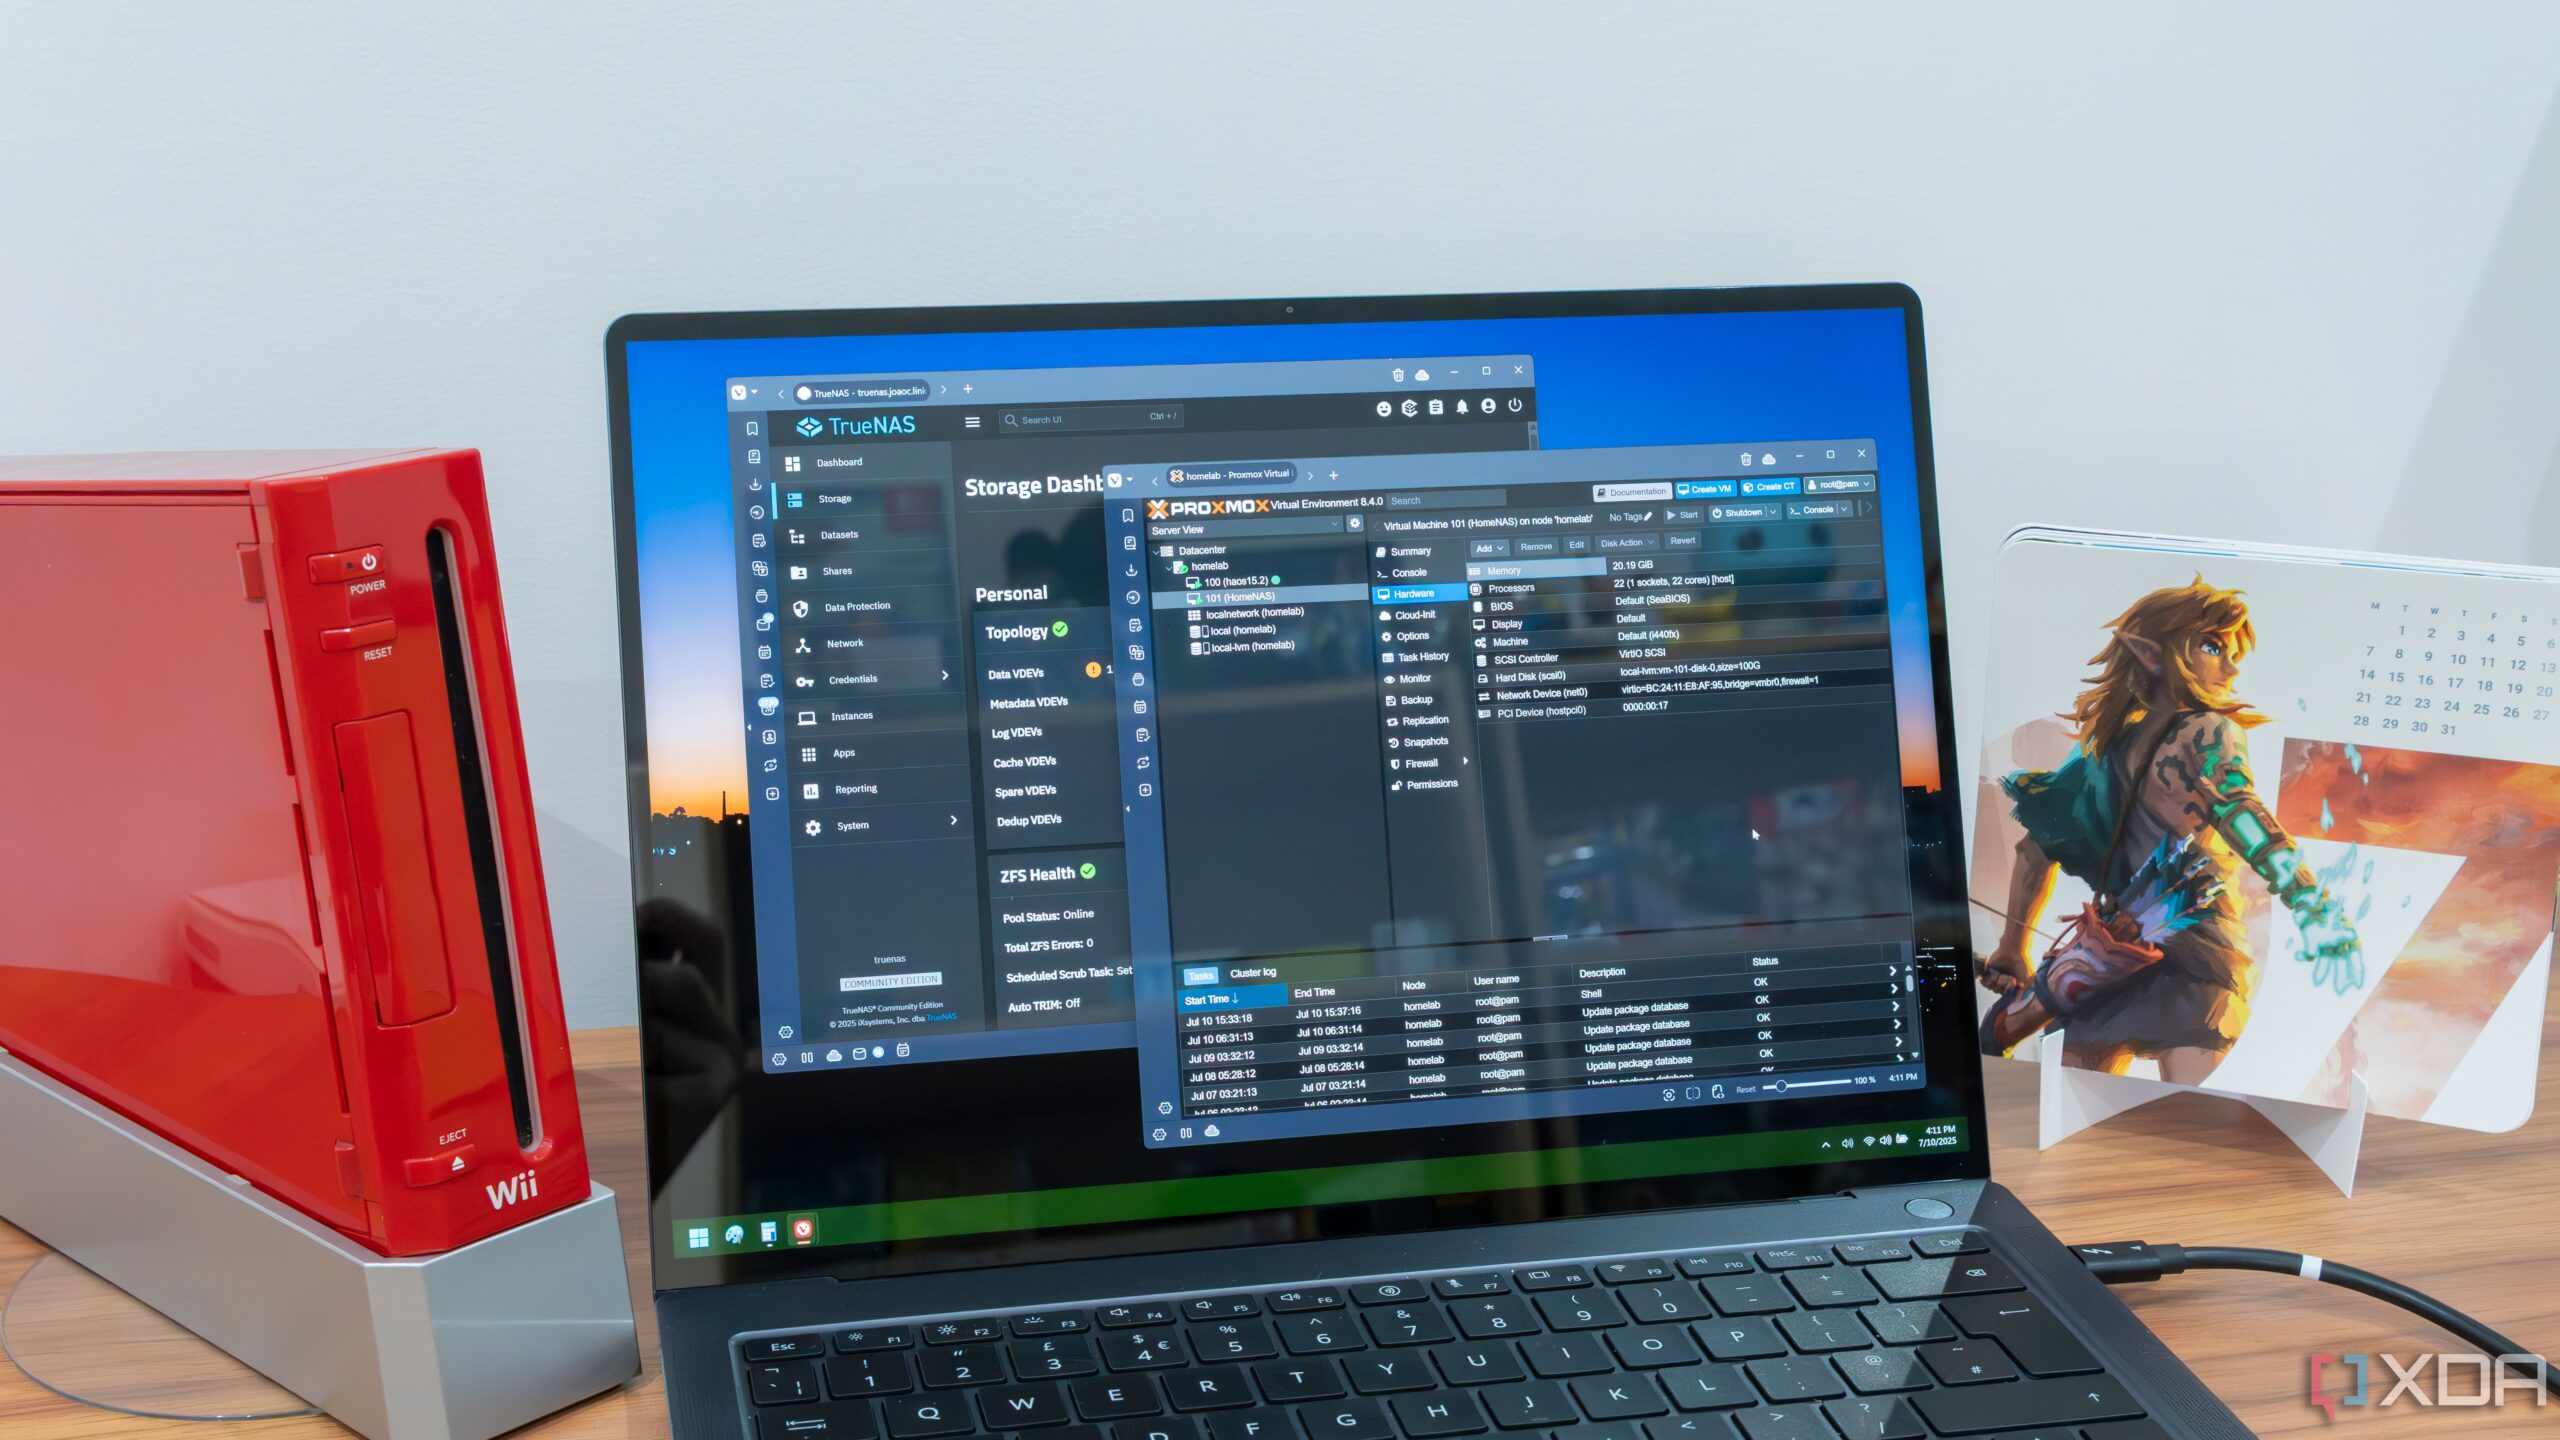
I recently built an all-new overpowered server for my home labbing adventures, packing an Intel Core i7-14700K, an AMD Radeon RX 7900 XTX, and 64 GB of RAM. The goal was to replace my bare-metal TrueNAS system with a Proxmox-focused beast, but there was one problem: how was I going to move all of my data over? As it turns out, it was really easy and took less than half an hour to get everything migrated.
Of course, using TrueNAS on Proxmox isn’t exactly necessary, but I wanted to decommission my previous server as quickly as possible, then work to deconstruct TrueNAS and migrate all of my self-hosted services to separate LXCs and VMs on Proxmox. When I’m finally finished, I can export my disks and import them as Proxmox supports ZFS, and use those disks as native storage units within Proxmox itself. At this point, I’ll set up a proper RAID configuration, as right now my disks are in a one-wide VDEV with no redundancy. My main NAS storage for my home is a four-wide VDEV on HexOS, and any important data is stored there. My TrueNAS machine was primarily for running services and housed mostly replaceable data.
All of the work I need to complete on this is a long-term project, but getting started was shockingly easy. Note that this method will also work for migrating bare-metal TrueNAS from one bare-metal instance to another. If you’re looking to do that, then follow along the usual TrueNAS-related steps and just skip the Proxmox parts. This article also assumes that you are booting from an NVME drive or that you have a dedicated HBA, as we’ll need to pass through the controller from your host machine to the TrueNAS VM. You’ll also need IOMMU enabled.
Preparing TrueNAS for migration
Exporting our disks and saving our configuration
The first step in getting every ready was to prepare TrueNAS for migration. While this first step likely isn’t necessary, I exported my pool from TrueNAS first. This unmounts your storage and detaches it from TrueNAS, marking it safe for import on another machine. Exporting your pool is the equivalent of safely ejecting a USB on Windows before you take it out, except that if you don’t export the pool first, a new TrueNAS system may refuse to mount it. This is exactly what happened when I passed through my SATA controller on my other machine running Proxmox and HexOS. I hadn’t exported the drives first, and I had to use a combination of zfs and zpool commands to unlock the drives and get them to mount correctly.
As for why this step may not be necessary, there are two reasons. The first is that, according to other users, TrueNAS has no problem just importing drives from another TrueNAS system, so it may be the case that my issue is specifically related to using a virtual adapter at first on HexOS for each of the drives before passing through the SATA controller. This would make sense, as this kind of virtualization can even cause catastrophic data loss in extreme instances. However, the other reason is that we will also be importing the TrueNAS configuration file, which contains all of the information about your TrueNAS instance, complete with storage settings, shares, and backup configurations. This will be in the form of a ZIP file, and there’s no need to extract it.
To export your disks, go to Storage and click Export/Disconnect. Uncheck Delete saved configurations from TrueNAS, as otherwise you won’t have all of your shares and any other configurations relating to the drive when you later restore TrueNAS on Proxmox. Then check Confirm Export/Disconnect and click the blue Export/Disconnect button. If the disk is marked as busy, go to Apps, Configuration at the top right, and click Unset pool. This will shut down your applications that are running on the disk and will allow you to safely export it.
Next, we’re going to export the TrueNAS configuration file. Go to System, General settings, and select Manage configuration in the top right. Click Download file and make sure that the checkbox is selected so that your user account will be imported to the new TrueNAS configuration. You’re now ready to migrate your TrueNAS instance to Proxmox and move your HDDs over.
Setting up TrueNAS on Proxmox
Finding the SATA controller is the most important part
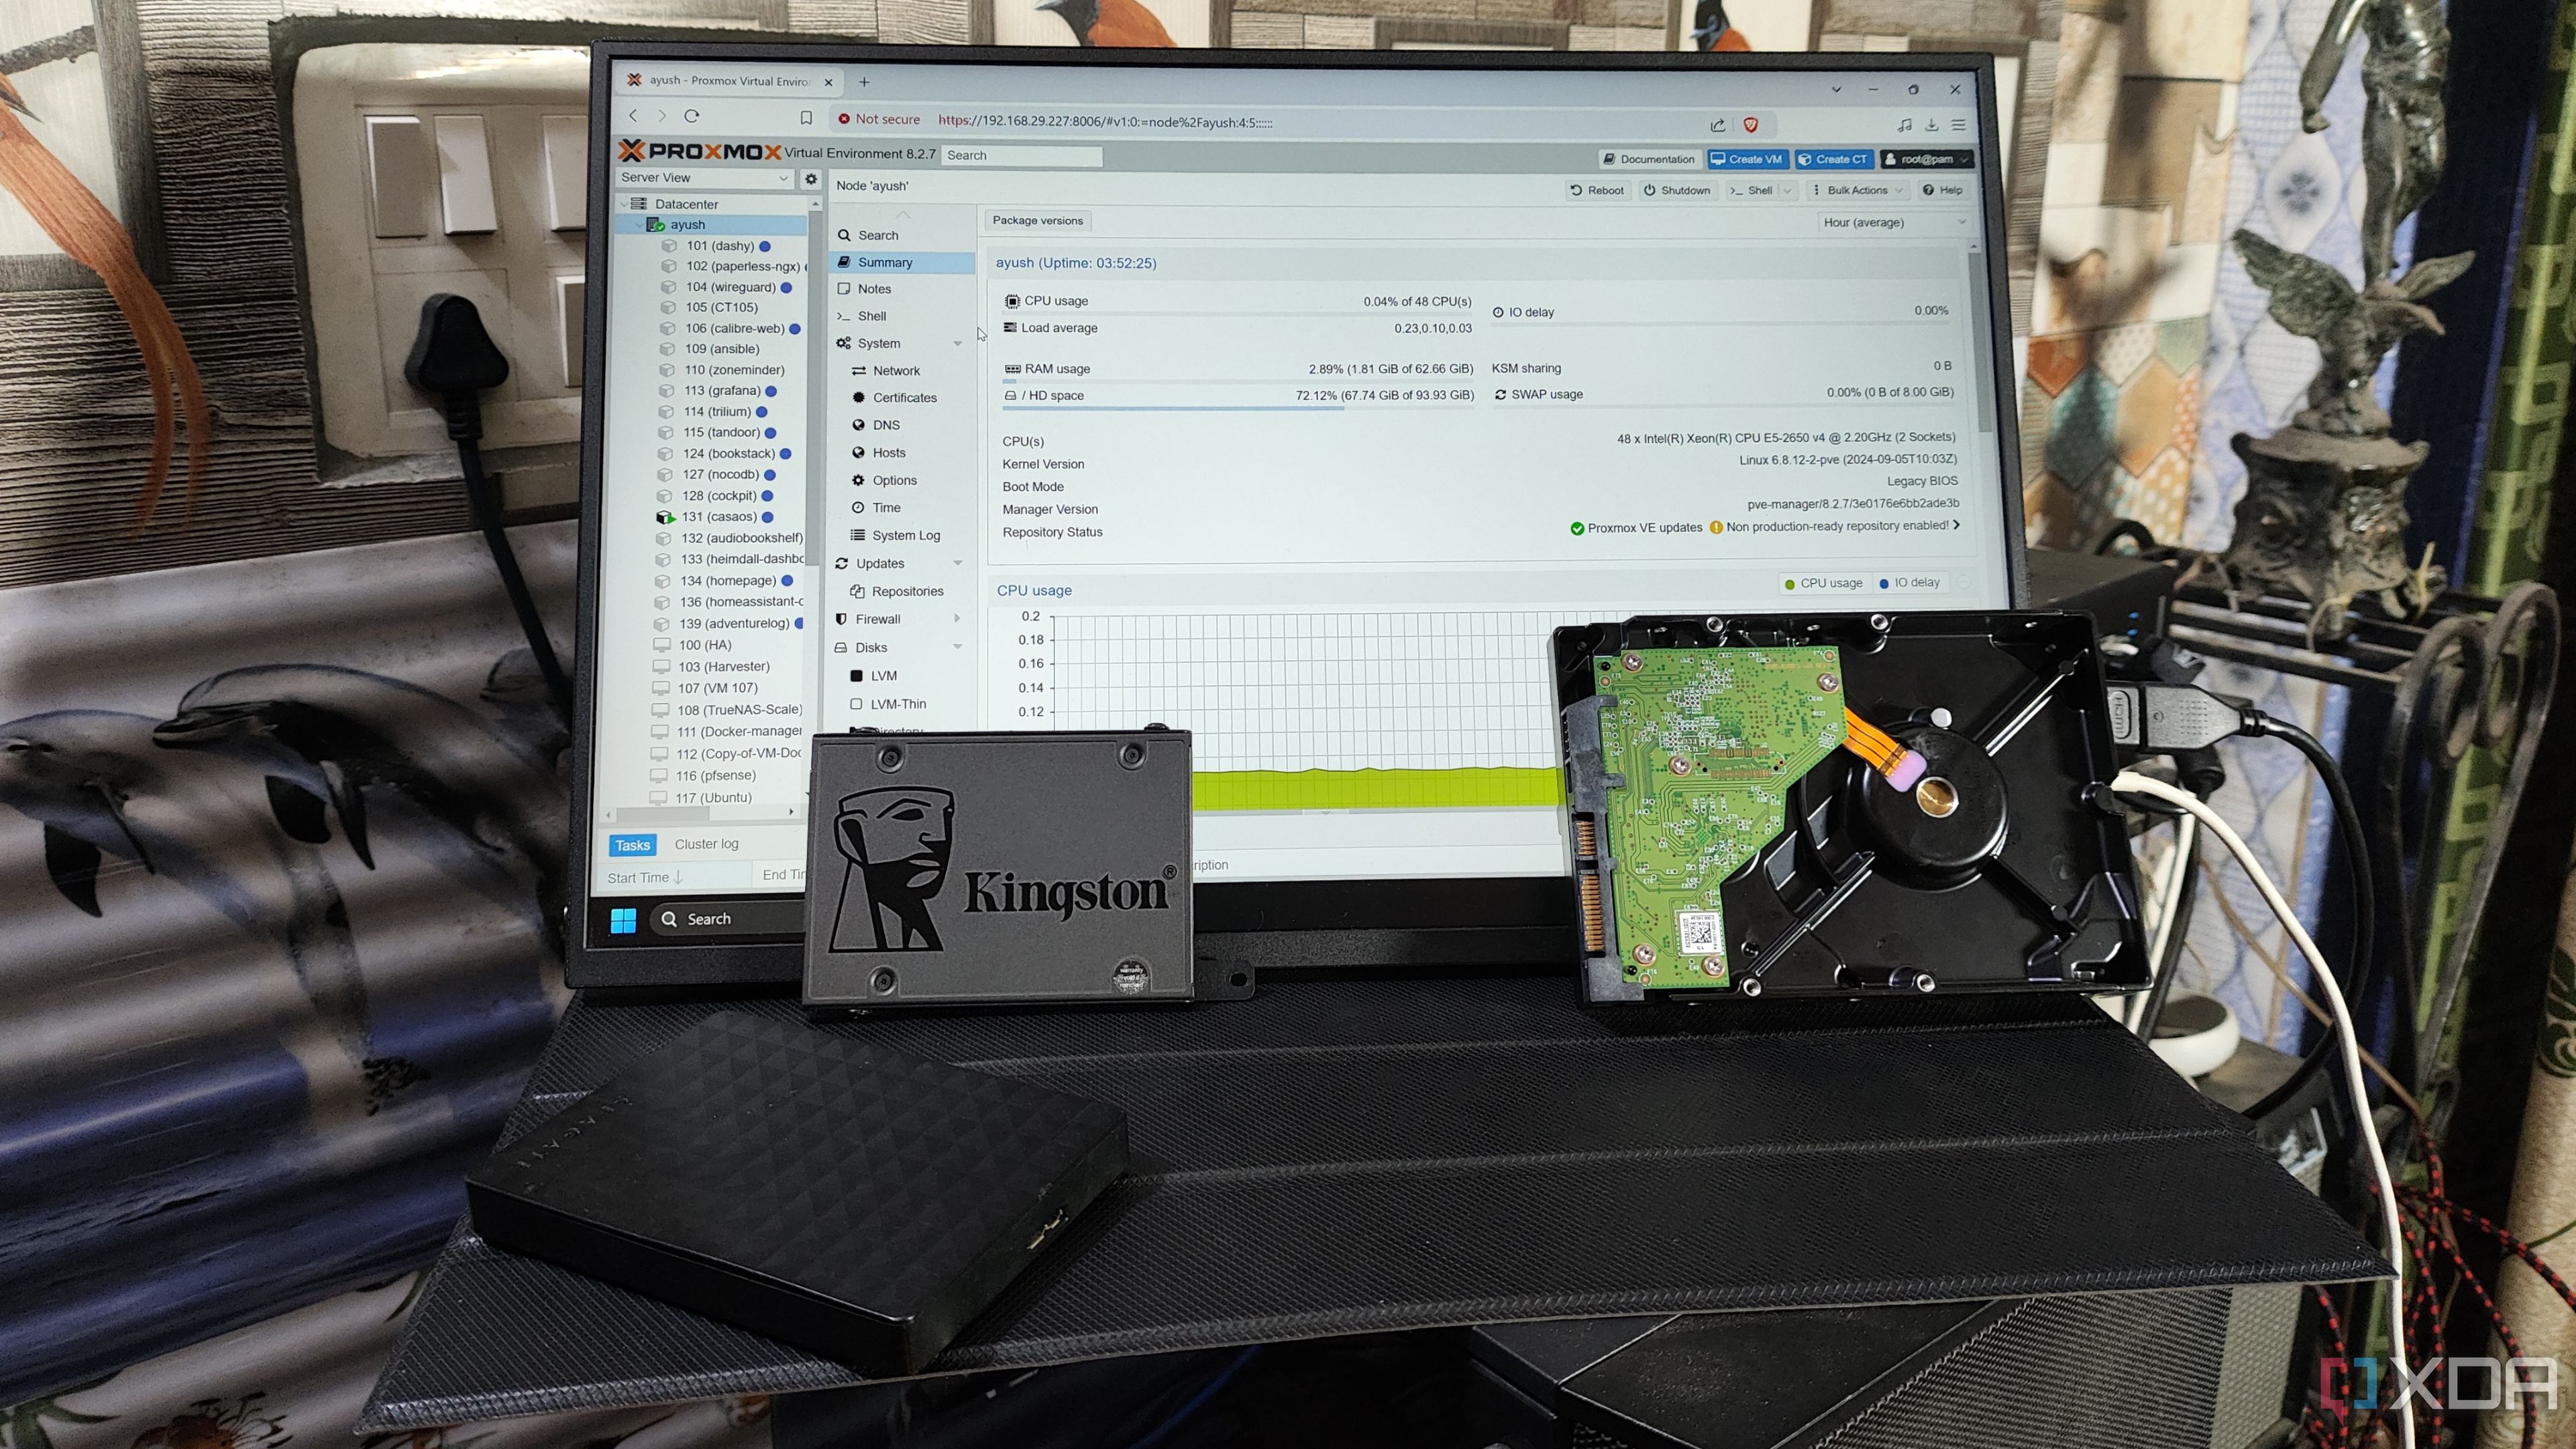
Installing TrueNAS on Proxmox is fairly easy, and you install it the same way that you would any other distribution. Download the ISO, set your boot disk, and run the installer. Where the process differs is when the installation is finished, and it asks you to remove the installation media and reboot. Instead of rebooting, shut down your TrueNAS VM. Go to the Proxmox shell, and run the following command:
lspci -nnk
This will list all of your PCI devices, and we’ll need to specifically look for the SATA controller. On most devices, this should be separate from any other controller on the machine. If you have multiple SATA controllers, you can use “udevadm info” to find which SATA controller a drive is using. In my case, I only have one SATA controller, with the ID of 0000:00:17.0. We’ll now add it to our VM.
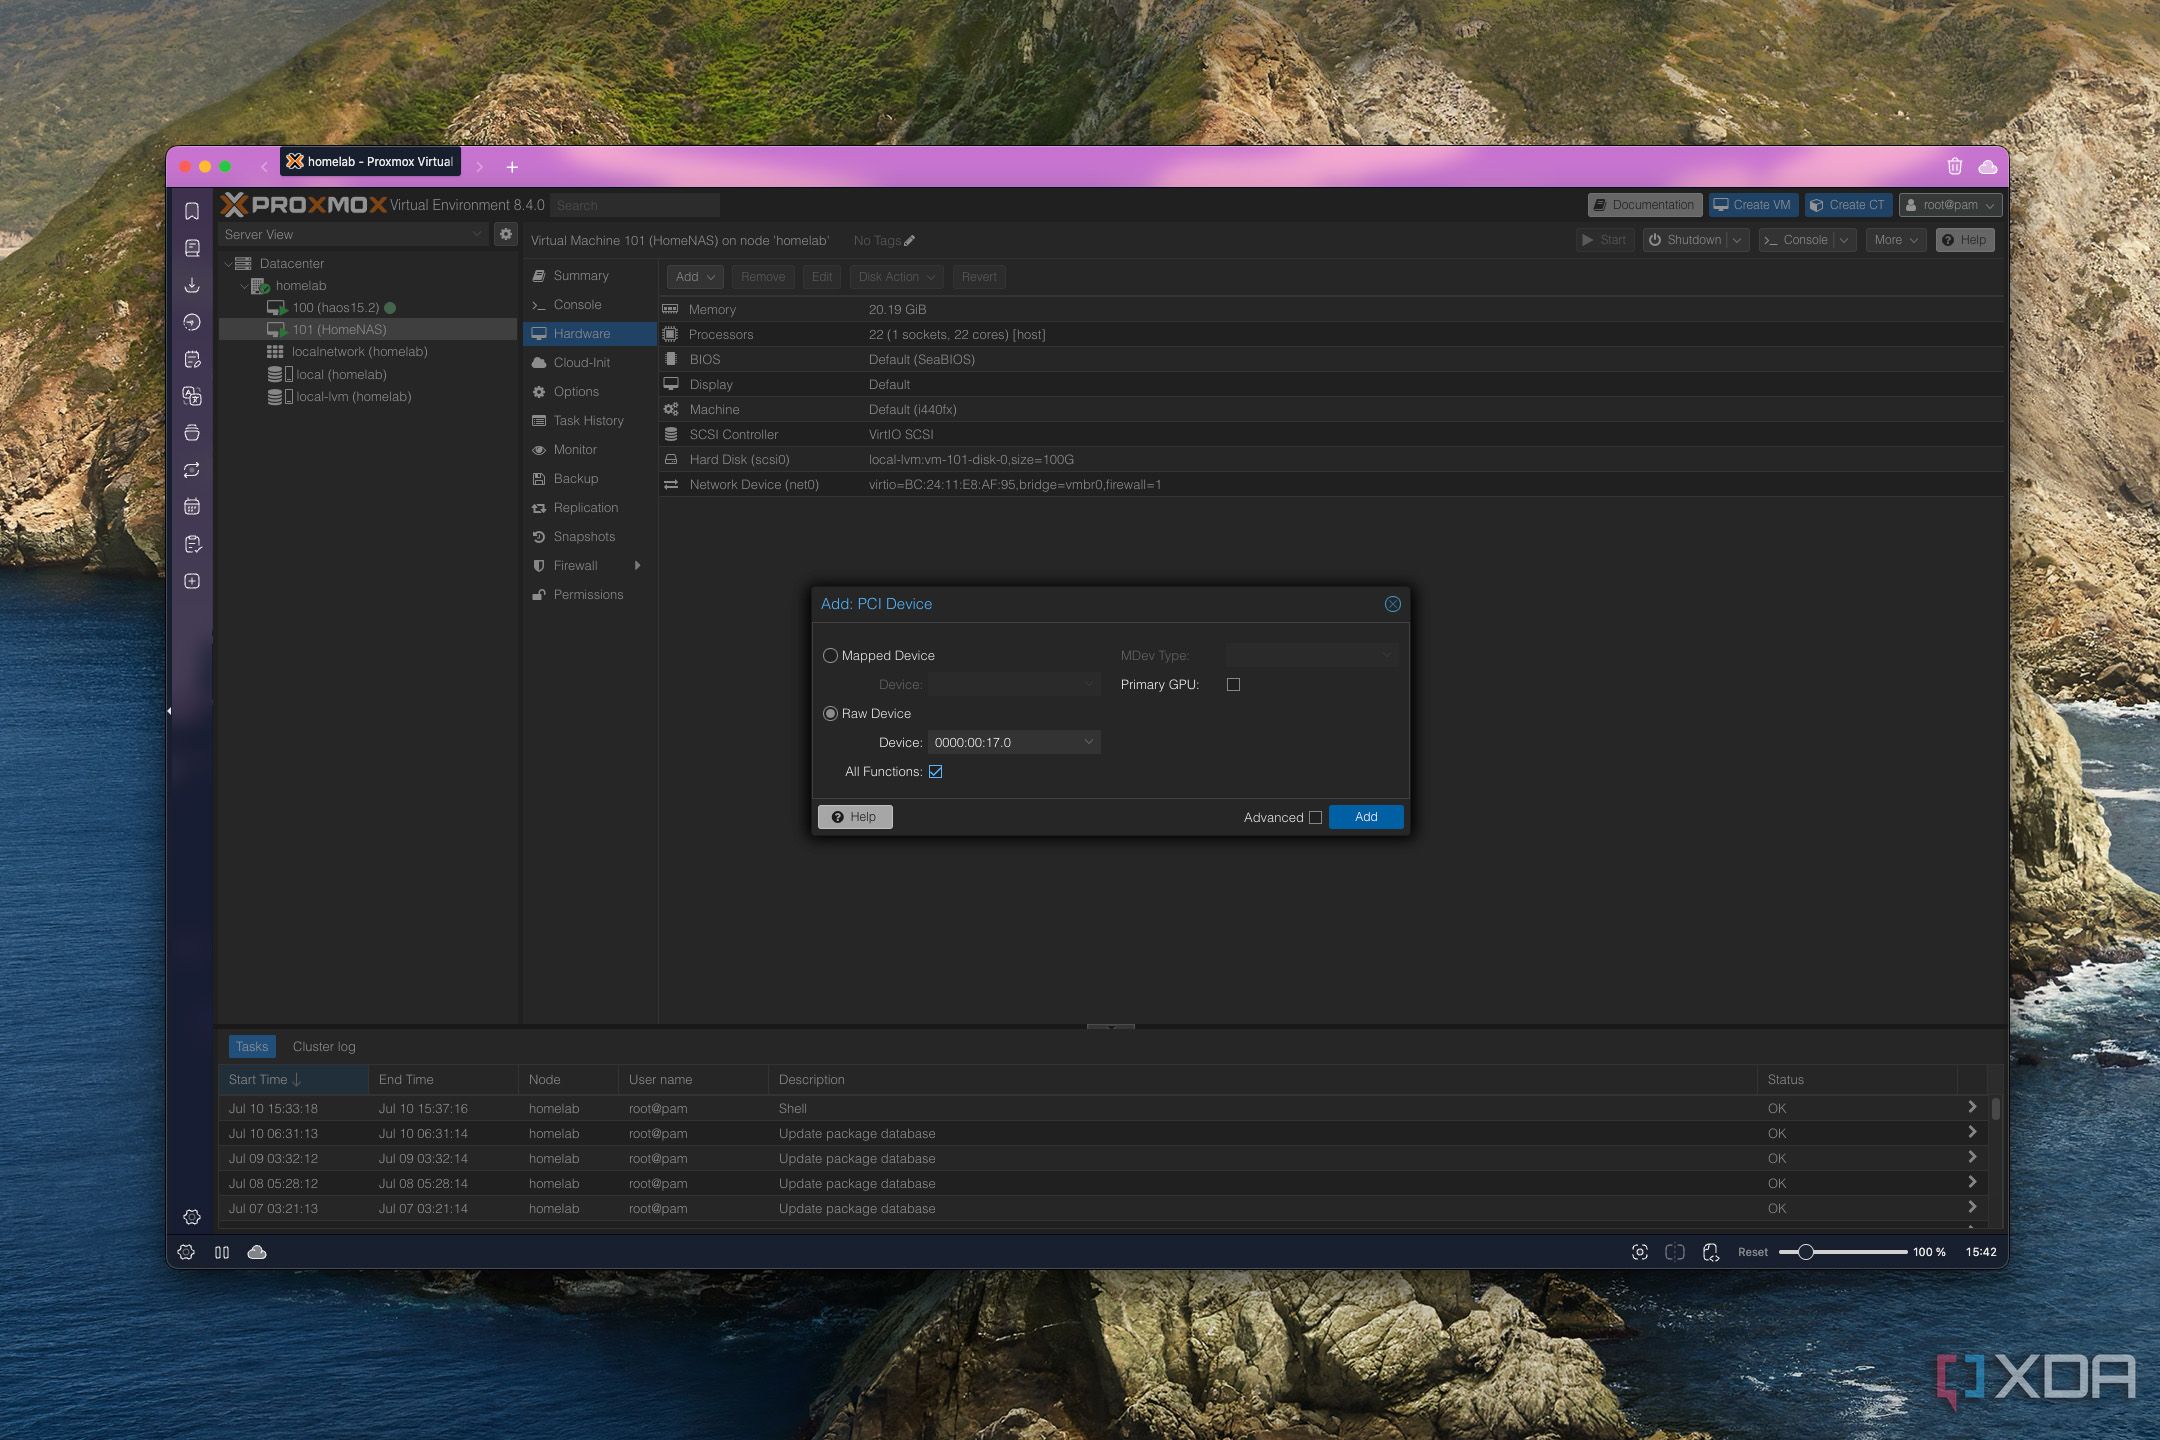
Go to your VM’s Hardware settings in Proxmox, click Add, and select PCI Device. Change it to a Raw device, choose the ID you identified for the SATA controller, and add it. Make sure to check All functions, and then click OK. You can now start your TrueNAS VM, and if you keep an eye on the output on the screen while it boots up, you should see it start to detect your drives.
Related
Build a NAS on your Proxmox server – without relying on VMs or containers
Even without virtual guests, your Proxmox machine can double as a solid NAS solution
Importing everything to TrueNAS
Pools and configuration file
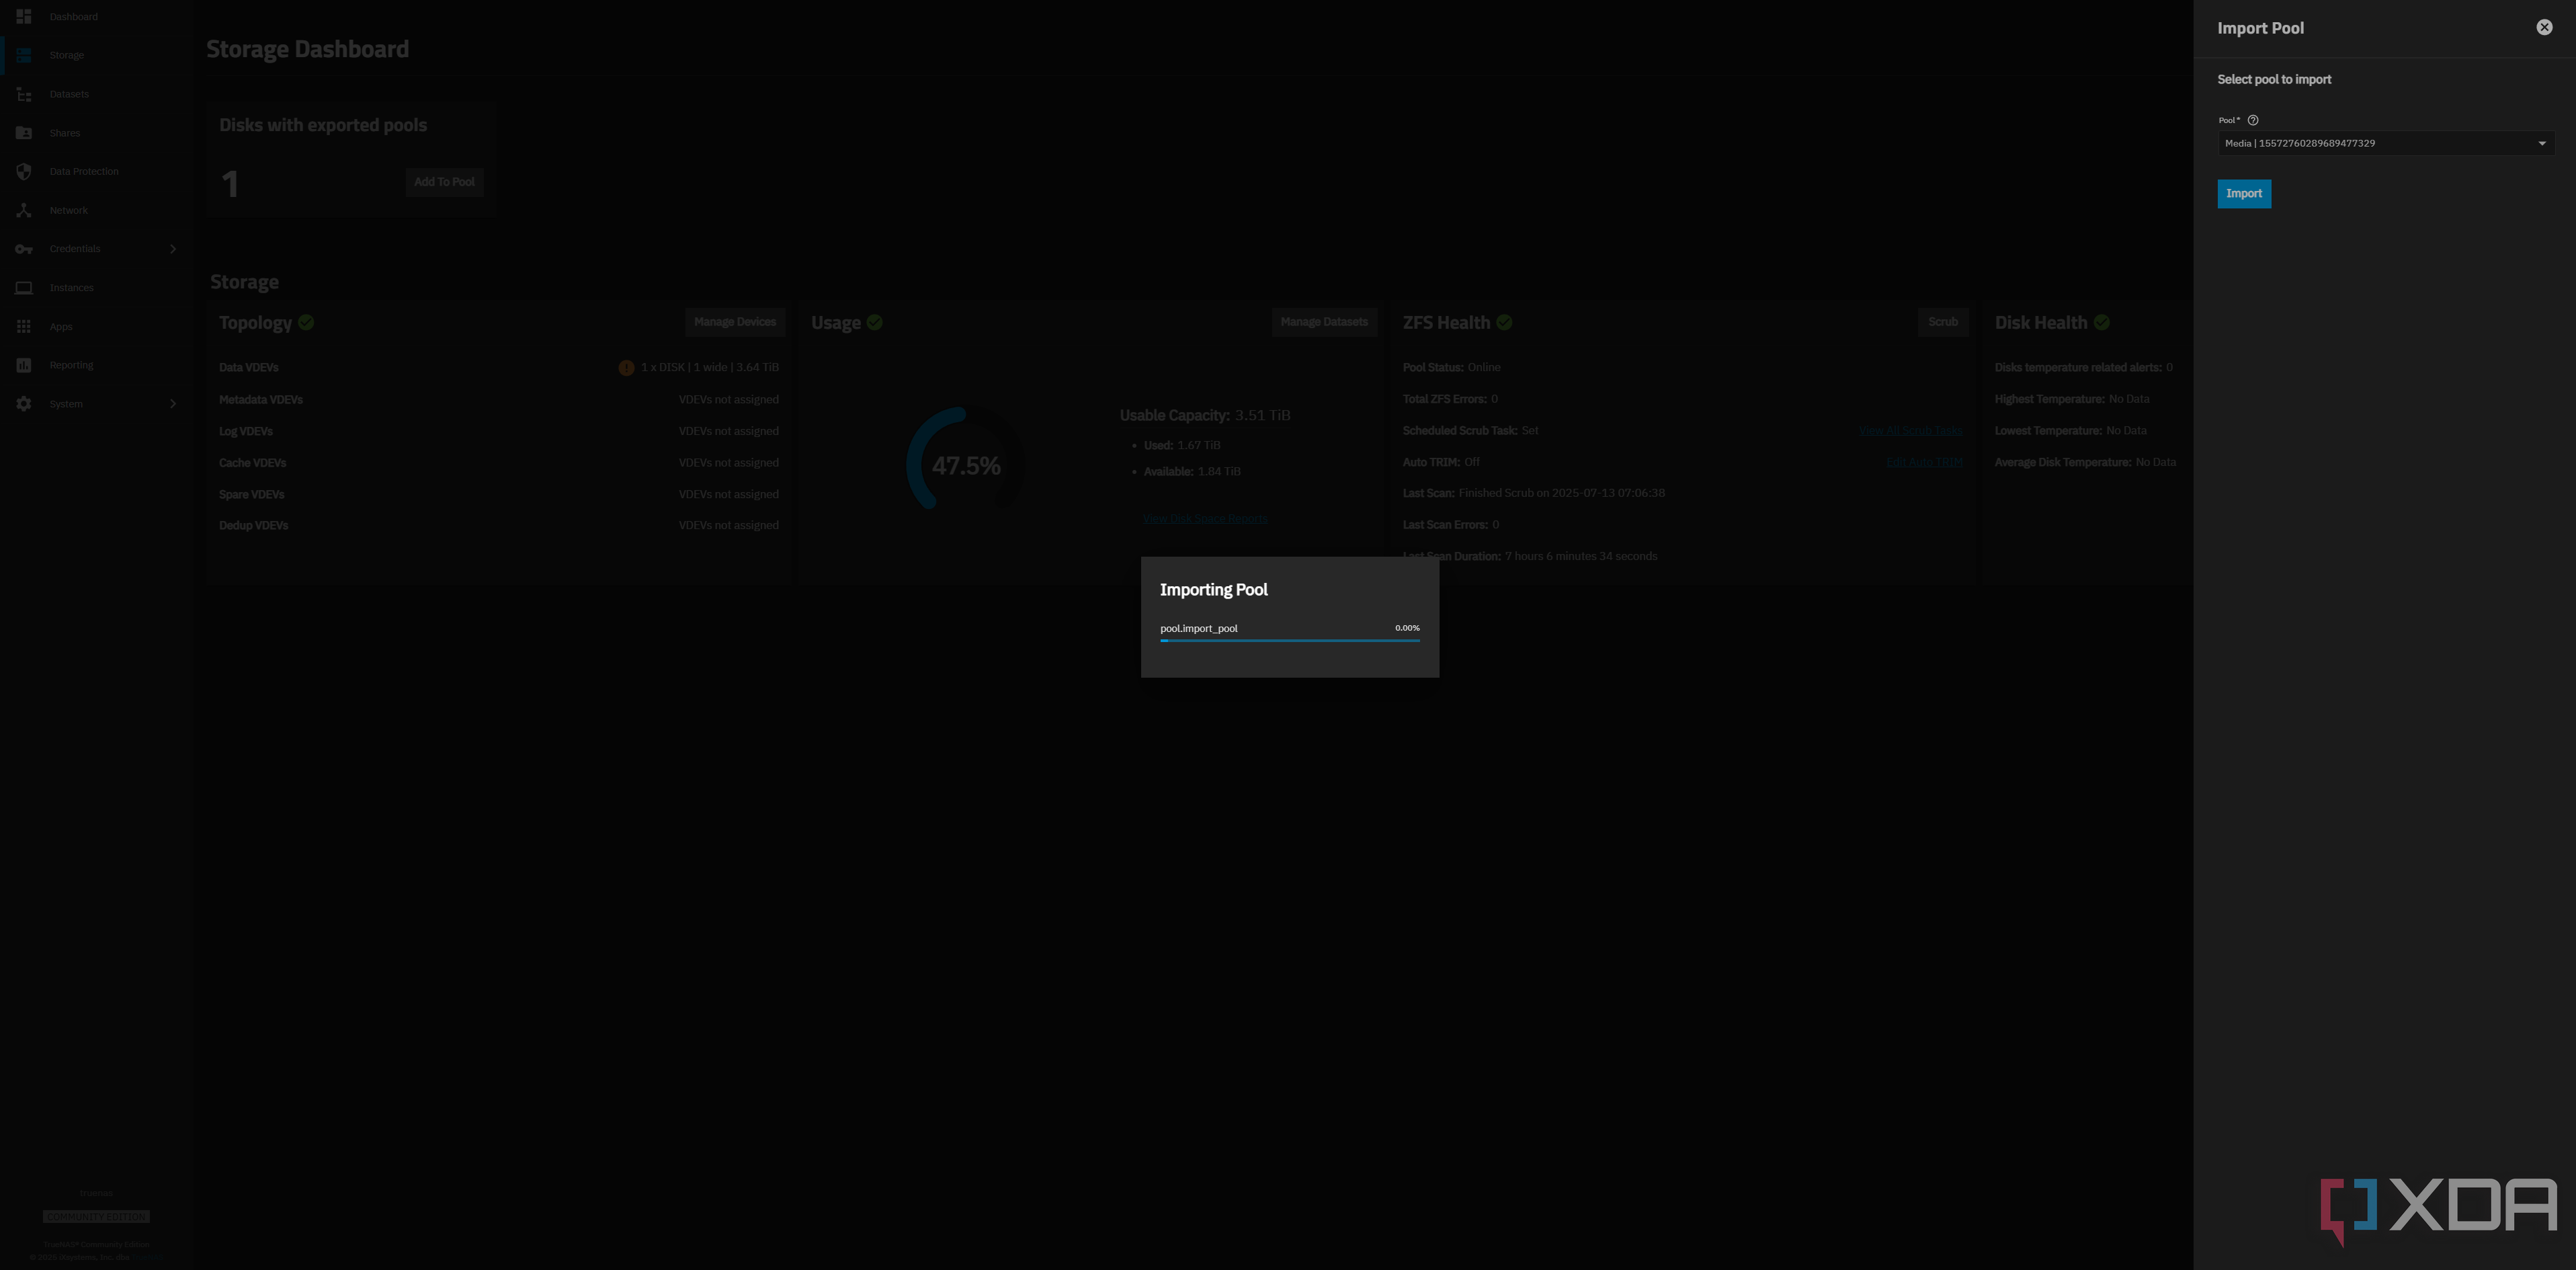
Once your TrueNAS VM has booted up and you can access the web GUI, you’ll be prompted to set your account password. Do that, and then go to Storage. Click Import pool at the top right, and select your exported pool. This will take a moment, and when it completes, import any others that you may have exported as well.
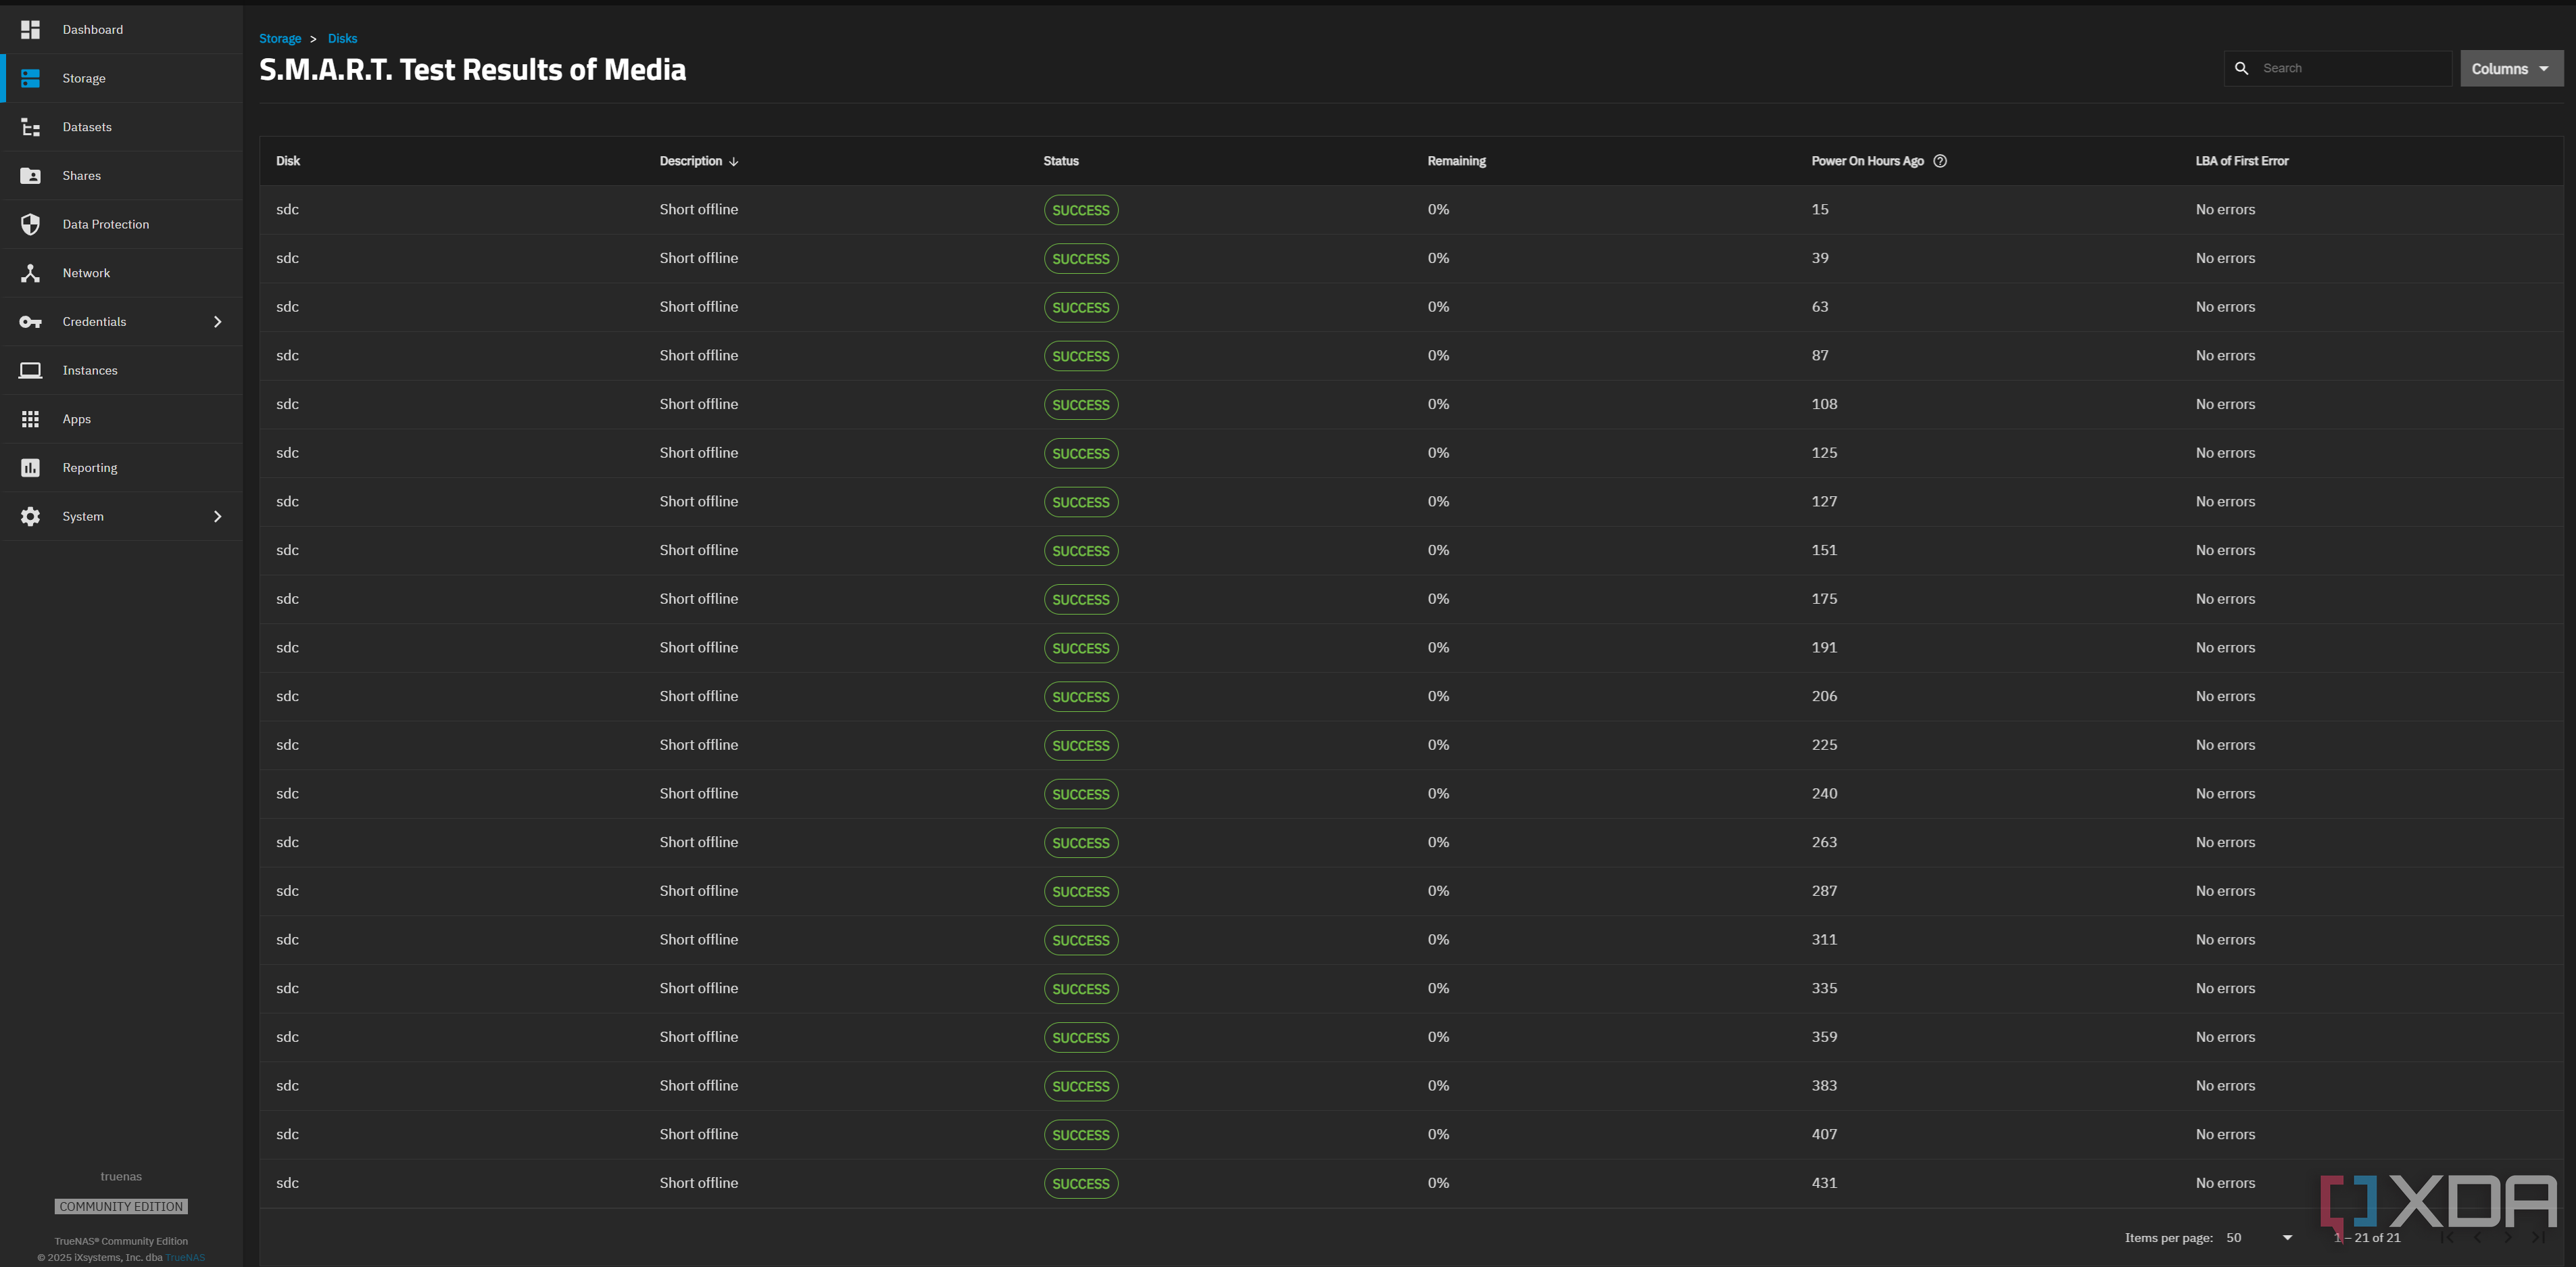
A quick way to check that your drives have been imported correctly using the SATA controller and not a virtualized adapter is by looking at the SMART test results for your drives. If you can run one (or tests have been successful since migrating it), then it works, as the Proxmox virtual adapter for drives does not support SMART testing. Once you’ve confirmed that, we’re good to import our configuration.
Go to System, General settings, and click Manage configuration in the top right. Select Upload config and choose the configuration that you downloaded earlier. It will then import all of your settings, your accounts, and anything else to your new TrueNAS instance. This is why we didn’t delete the configurations when exporting the pools, as any shares that you may have will still work. If you had a static IP reservation for your TrueNAS instance previously, I recommend setting that back up with the new TrueNAS MAC address that Proxmox will have assigned.
That’s it, though! You should now have a fully working TrueNAS instance with all of your data and settings migrated from your bare-metal instance. It was surprisingly simple in my case, and the process is quite similar when migrating from bare-metal to bare-metal. Just skip the Proxmox parts, and it’ll all just work.