A little play with my images photographing fireworks in Cottonwood, AZ on July 4th. This is taking processing and compositing to a different level. Join in for the fun. If you have other techniques and ideas share in the comments below.
Capture
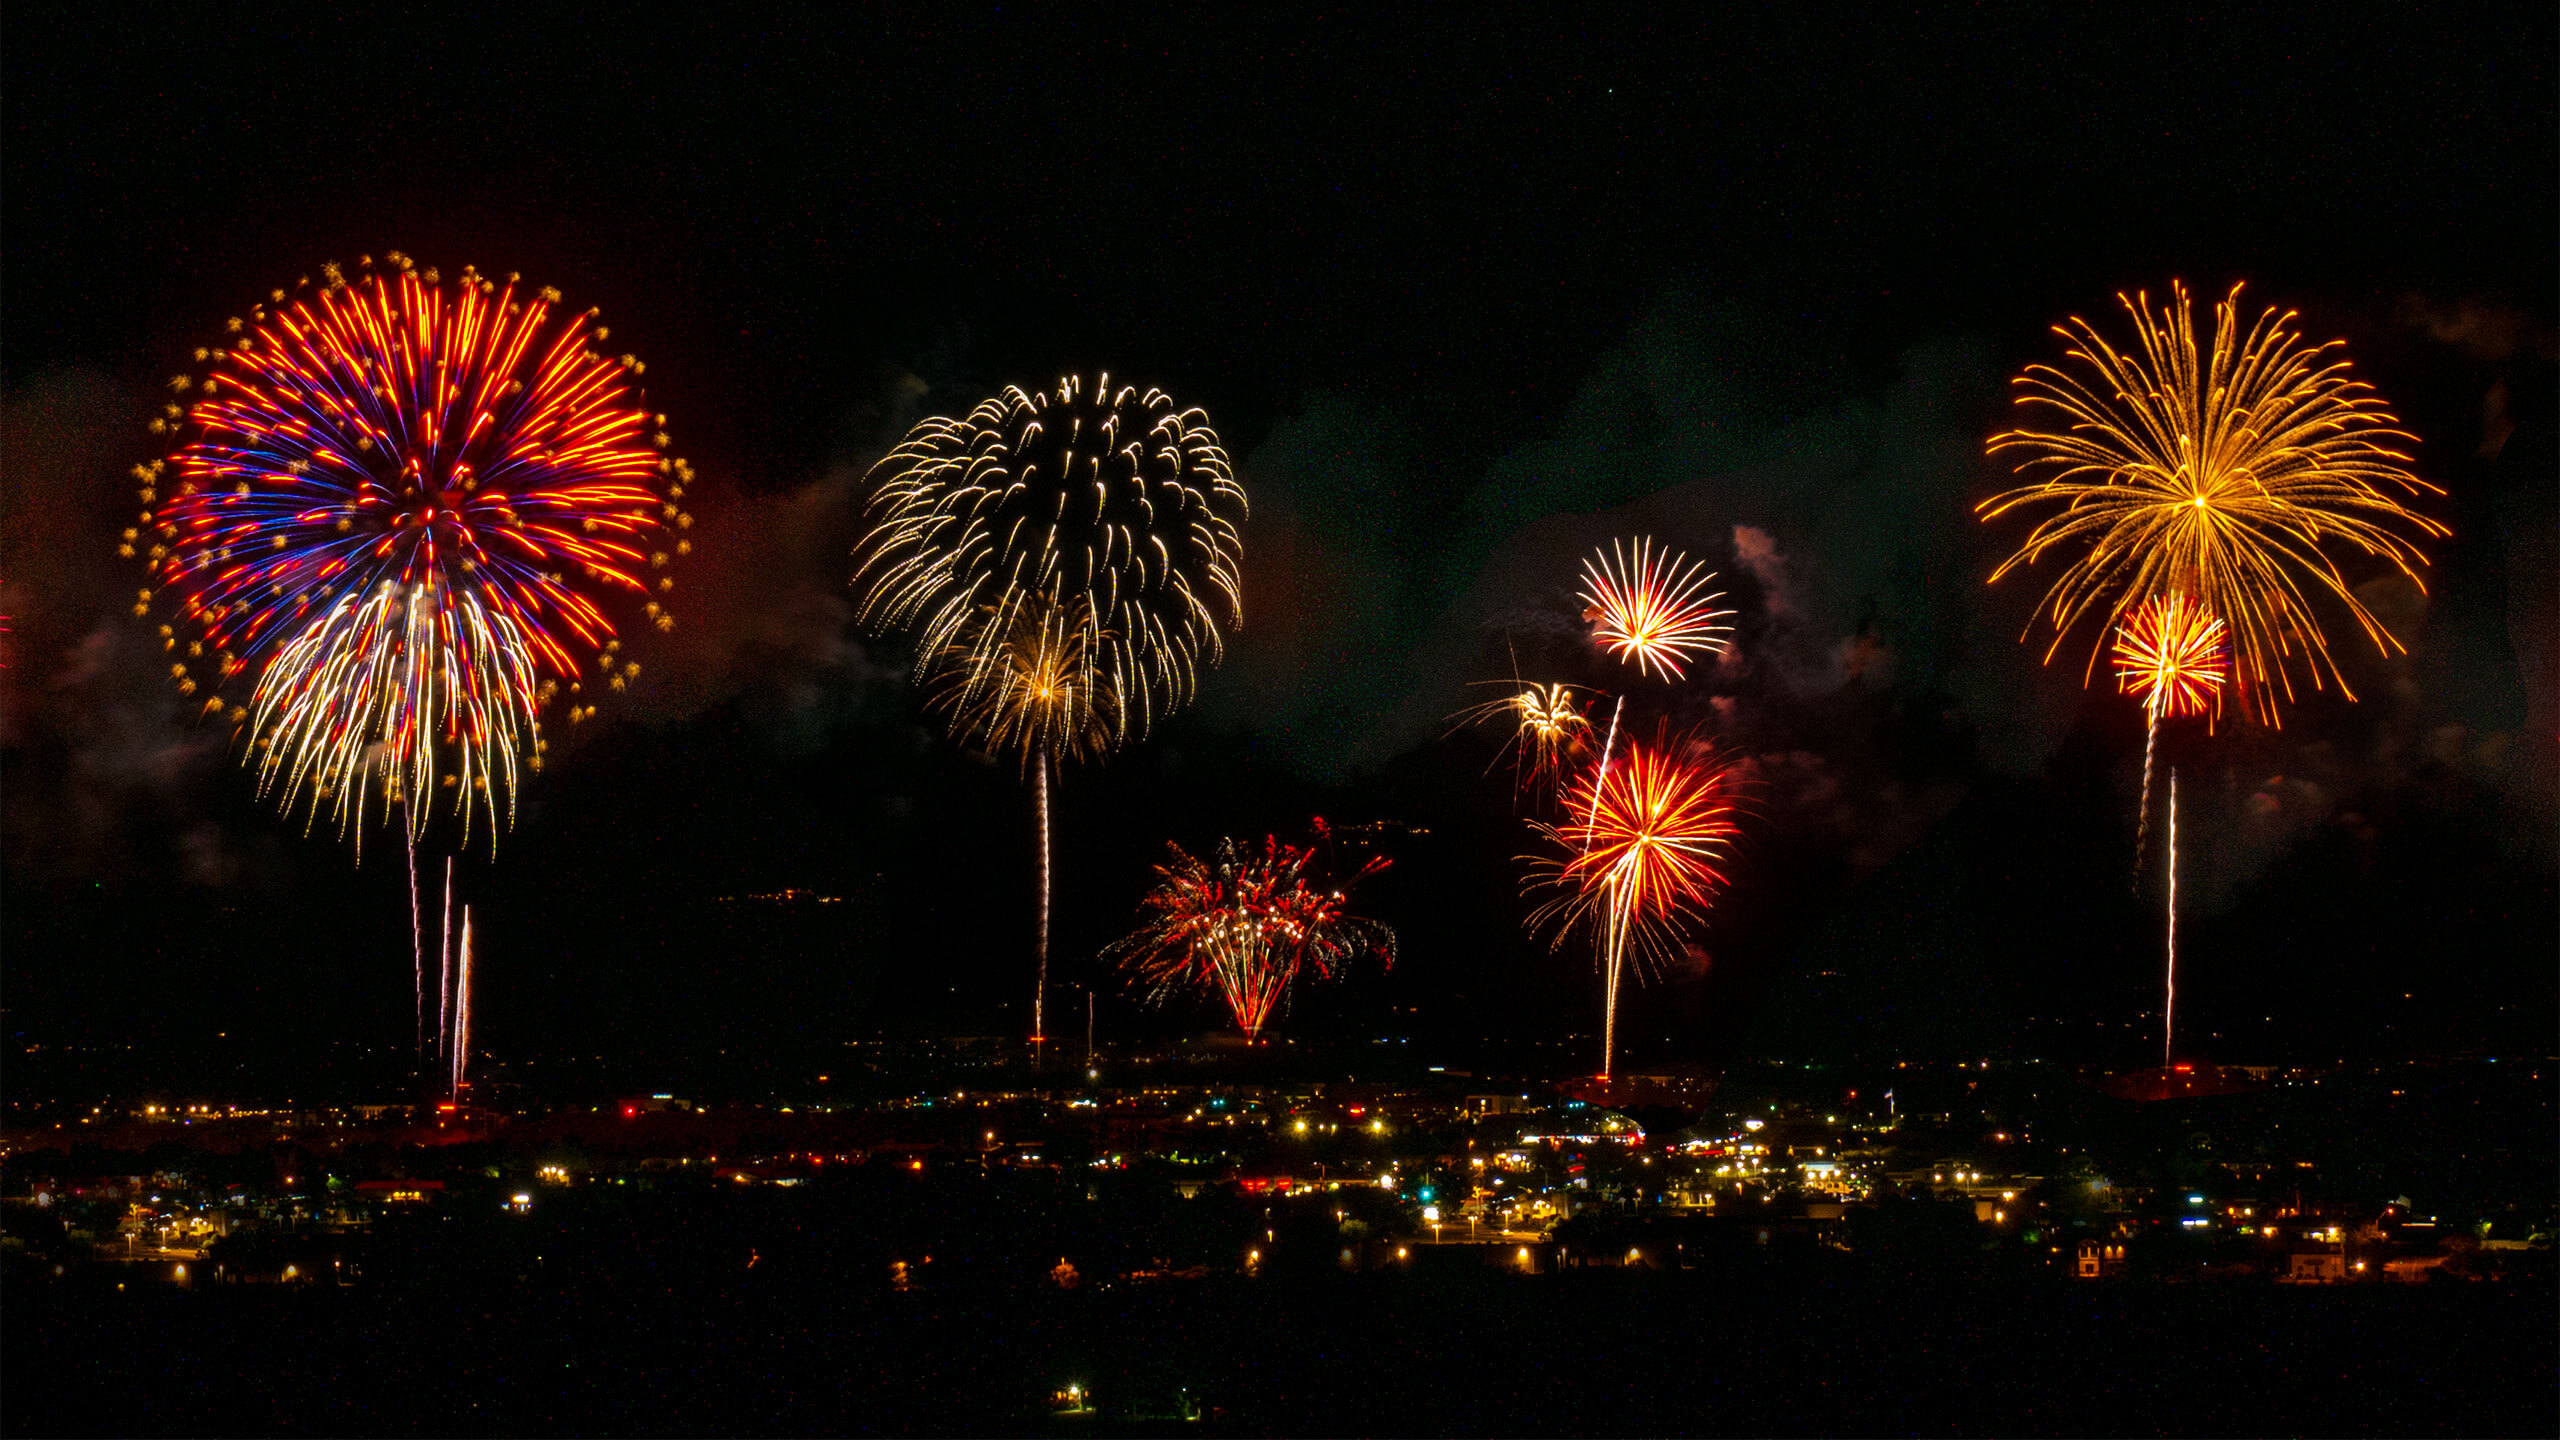
To begin this process you need to have images. In this case I set the Lumix GX85 camera up, focused and let it fire away in time lapse mode. Settings were ISO 400 f/11 5 sec. 32mm (64mm in Full Frame equivalent field of view) A lower ISO would have rescued more of the highlights in the fireworks. There are still a few GX85 builds available but the camera has been discontinued. I think this is one of the solid sleeper cameras over the years. Older tech but lots of features in a small package.
Basic processing
The time lapse was created by the camera and saved as 4K. Since I was working on an HD timeline, there was room to zoom in a bit on the video and allow some movement. There was no extra processing the images as they were captured so highlights are a bit bright. Adding the movement in ScreenFlow along with some music and text brought this video around. The video helps tell the story of where the images started and where they finally ended up.
All images used in the composite were processed to bring the highlights down and shadows up a little.
Advanced processing
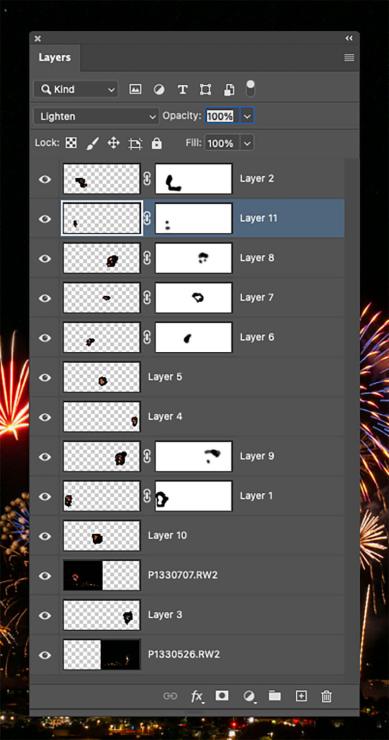
Here is the real fun from this processing. Images were loaded into Layers in Adobe Photoshop. The canvas was doubled in size and one of the images was flipped to cover that space. Using the Lighten Blend Mode and Masks the bursts which were wanted. XXX number of frames were employed to add color and show different types of pyrotechnics.
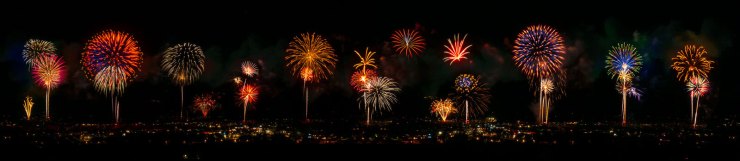
Trimming the photo to a panorama drives you to look at the fireworks without the distraction of negative space. While the panorama has its own place there’s a next piece of creative processing coming below.
Creative processing
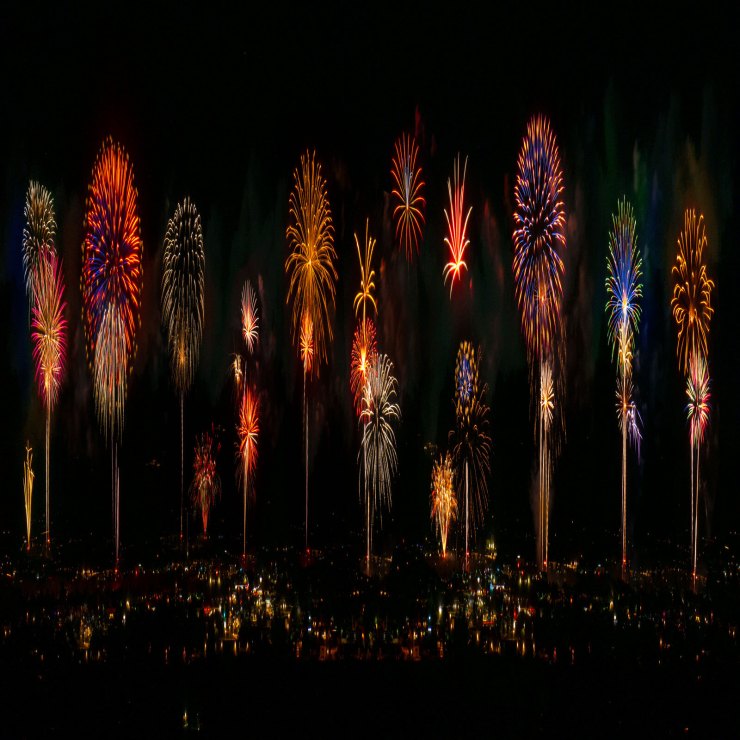
Using the panorama as a base and manipulating it with Polar Coordinates filter adds a whole new dimension and fun looks. Here are the basic steps.
- Create a new square file
- Drag and drop the panorama into the square file
- Transform the panorama and fill the square perfectly
- Continue with the transform tool and spin the image to the upside down position
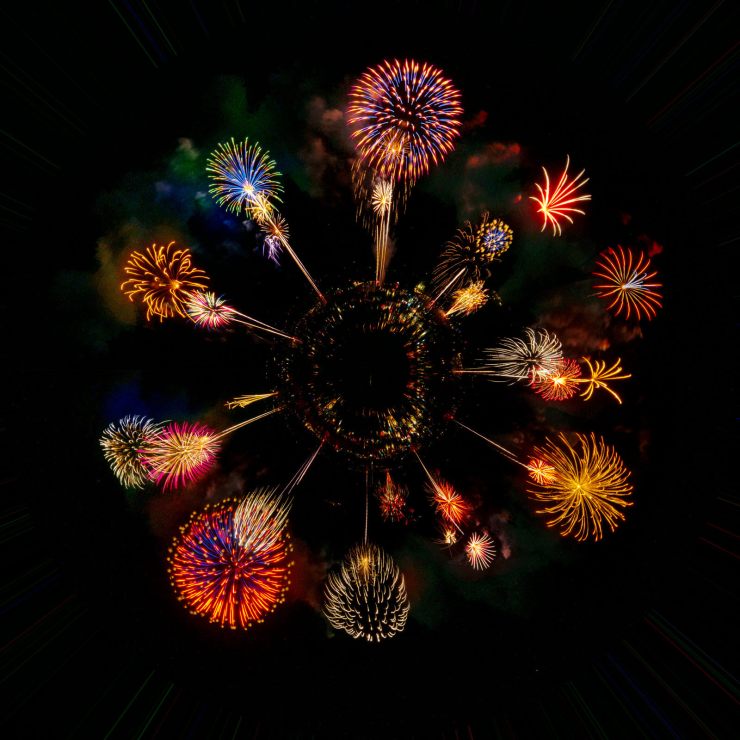
- Filter>Distort> Polar Coordinates – Check the Rectangular to Polar
- Using the above settings will create a ‘Little Planet’
- If you don’t spin the image and run the same settings the image will move ‘inside’

Final thoughts
I hope these ideas open the possibilities of new imagery. Sometimes it’s just for fun for yourself… But you never know where playing with new ideas might lead.
Yours in Creative Photography,
Bob