Setting up a new Windows 11 machine can be complicated, and when issues arise somewhat frequently, it can waste a lot of time in certain scenarios. It’s common these days to have your life based on data from the cloud, so when it comes to the operating system, you mostly just need to install the OS, change the settings as needed, and install the programs you want.
If you are one of these people, you can easily set up a new instance of Windows 11 on the same PC, making it so you can migrate to a new, clean install of the OS with access to your files and apps much more quickly than doing it through typical means. Thanks to PowerShell scripting and tools like WinGet, setting up a new machine this way is very easy. Here’s how it works.
Related
11 PowerShell modules you should try out on your Windows 11 PC
Take PowerShell’s functionality to the next level with these amazing modules
Creating a new Windows instance on your drive
It’s easier than you think
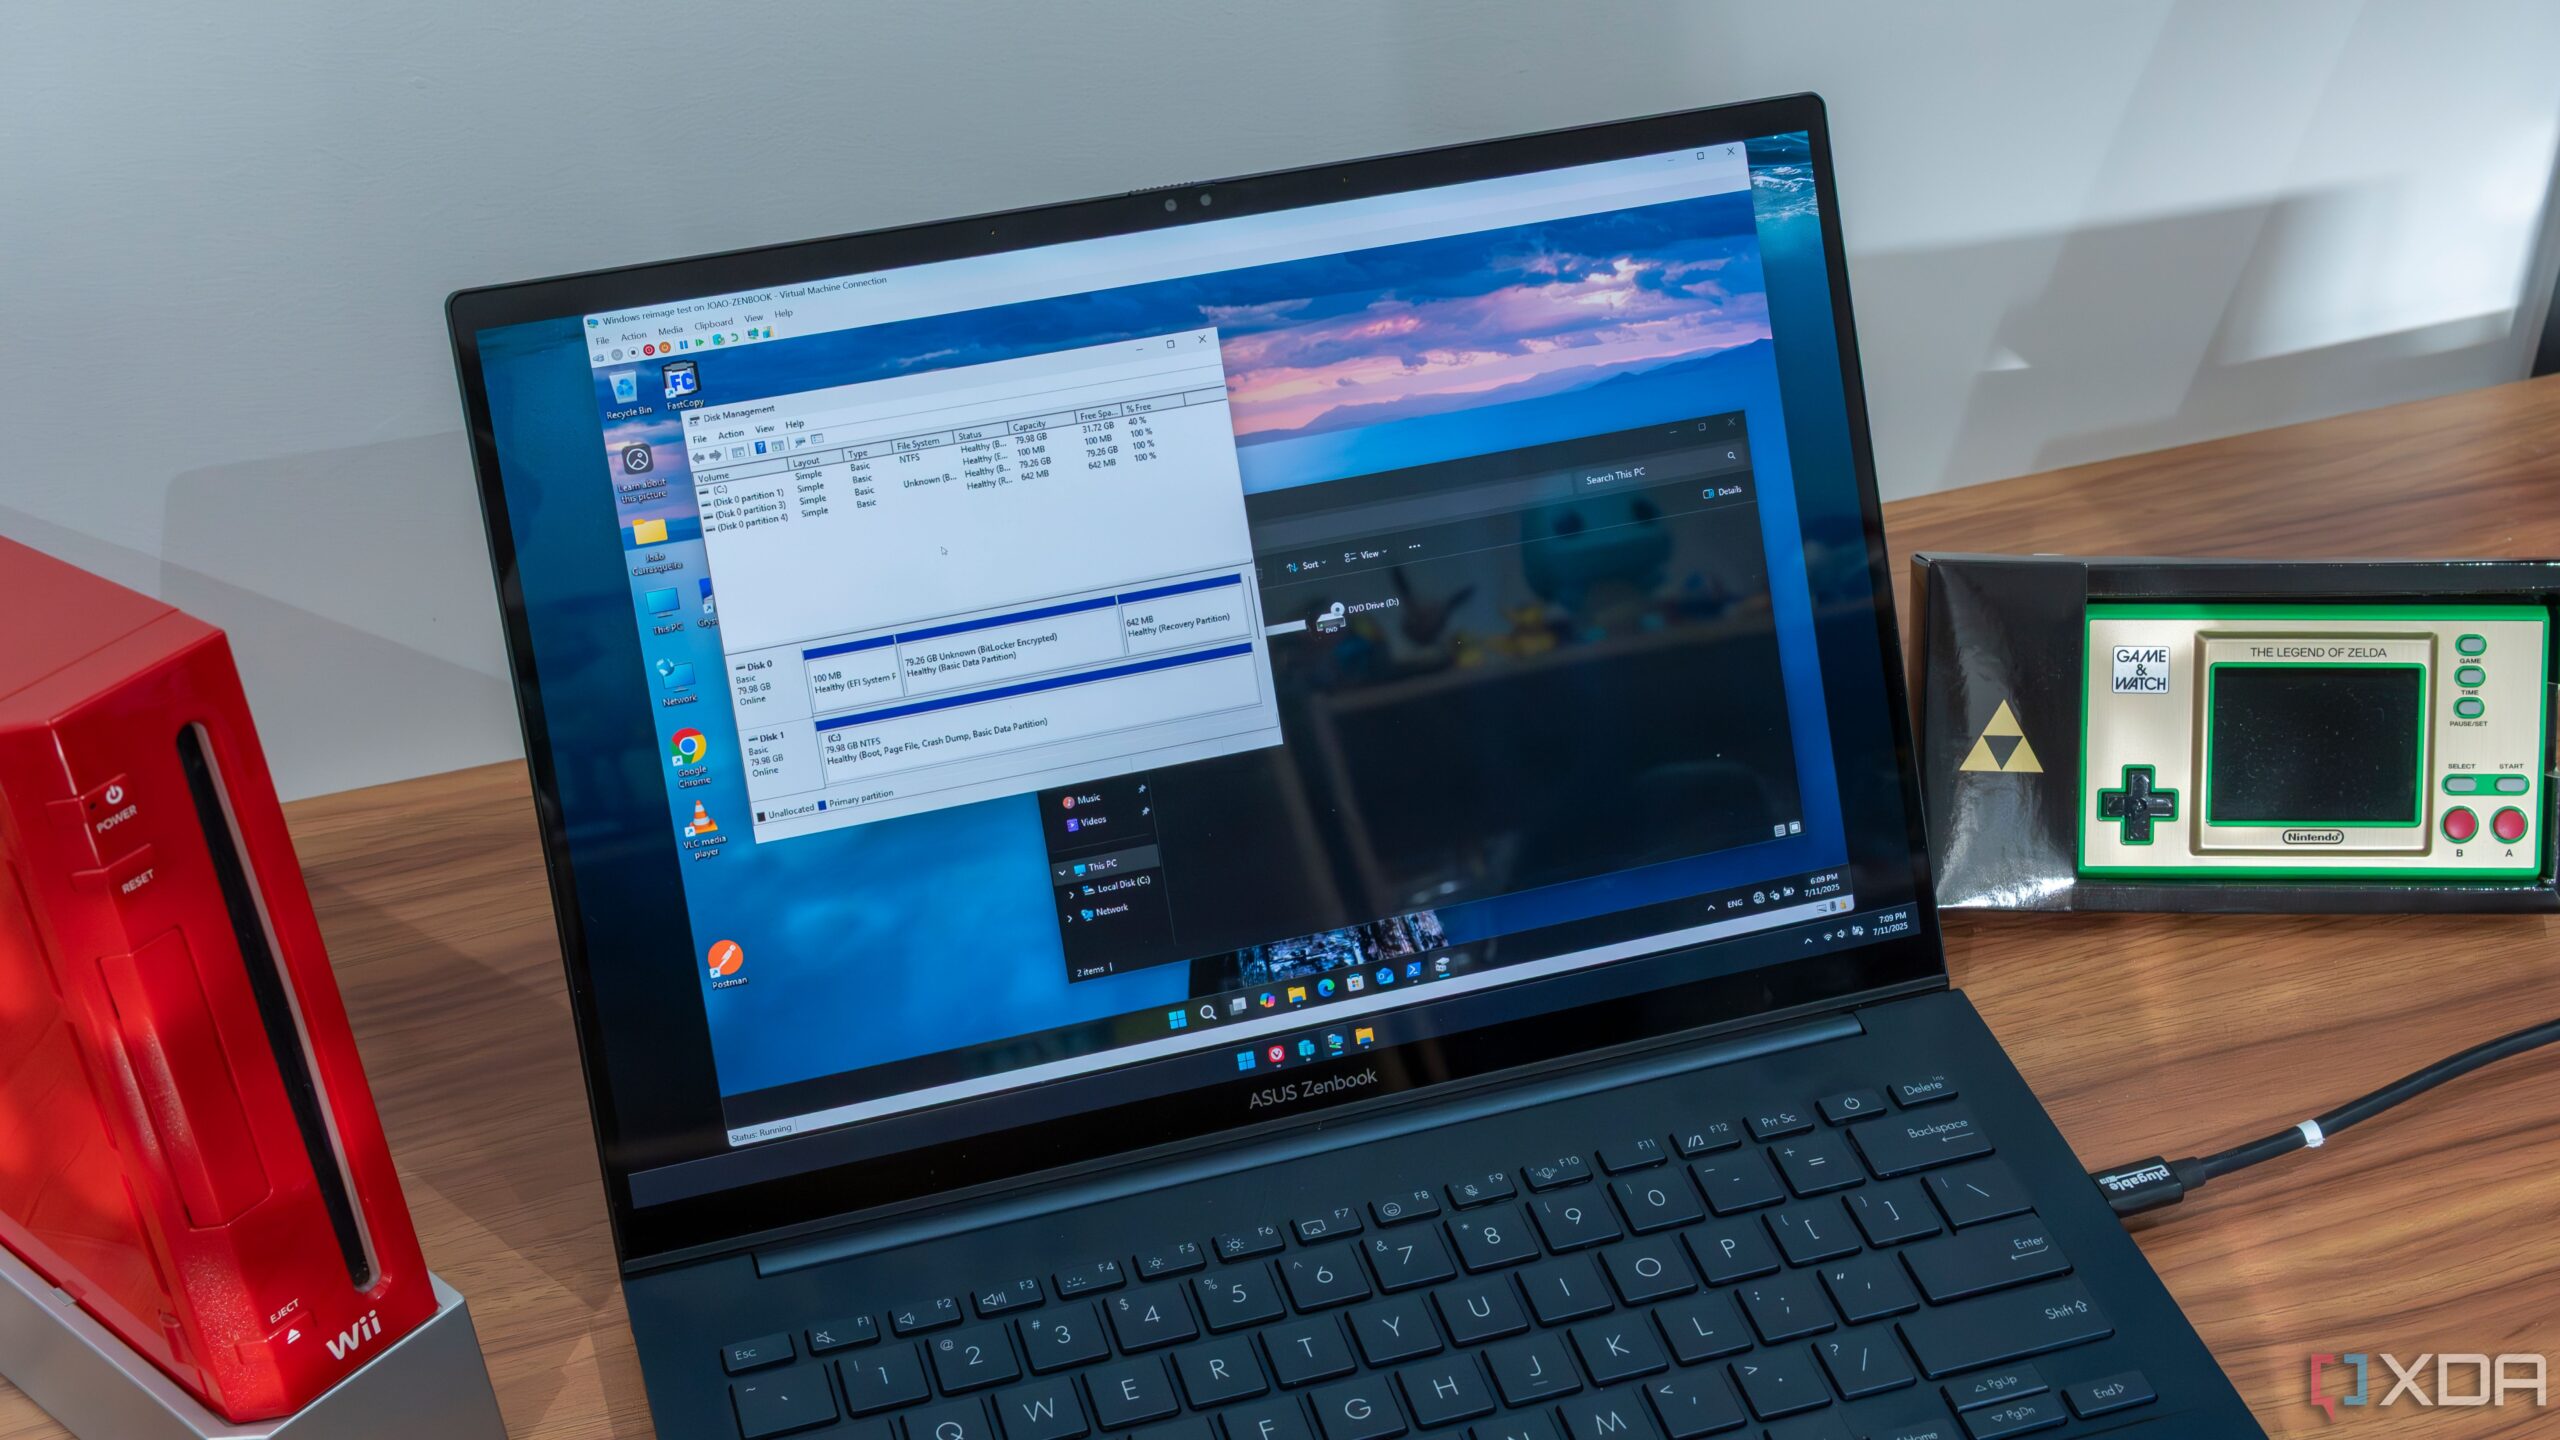
The first step in creating your new Windows instance is to, well, create it. Thanks to this PowerShell script by GitHub user Anduin2017, you can use an ISO file and your current system installation to create a whole new installation of Windows with the same version as your PC. This requires you to, of course, be running Windows, as well as have an empty drive on your PC, and you’re also going to need an ISO file for the Windows version you want. Also, you have to do this with a separate physical drive. Creating a partition on your disk will not work, and running this script could break your current install.
You can find the full script on GitHub, and in order to run it directly off the internet, you can use this command in an elevated PowerShell window:
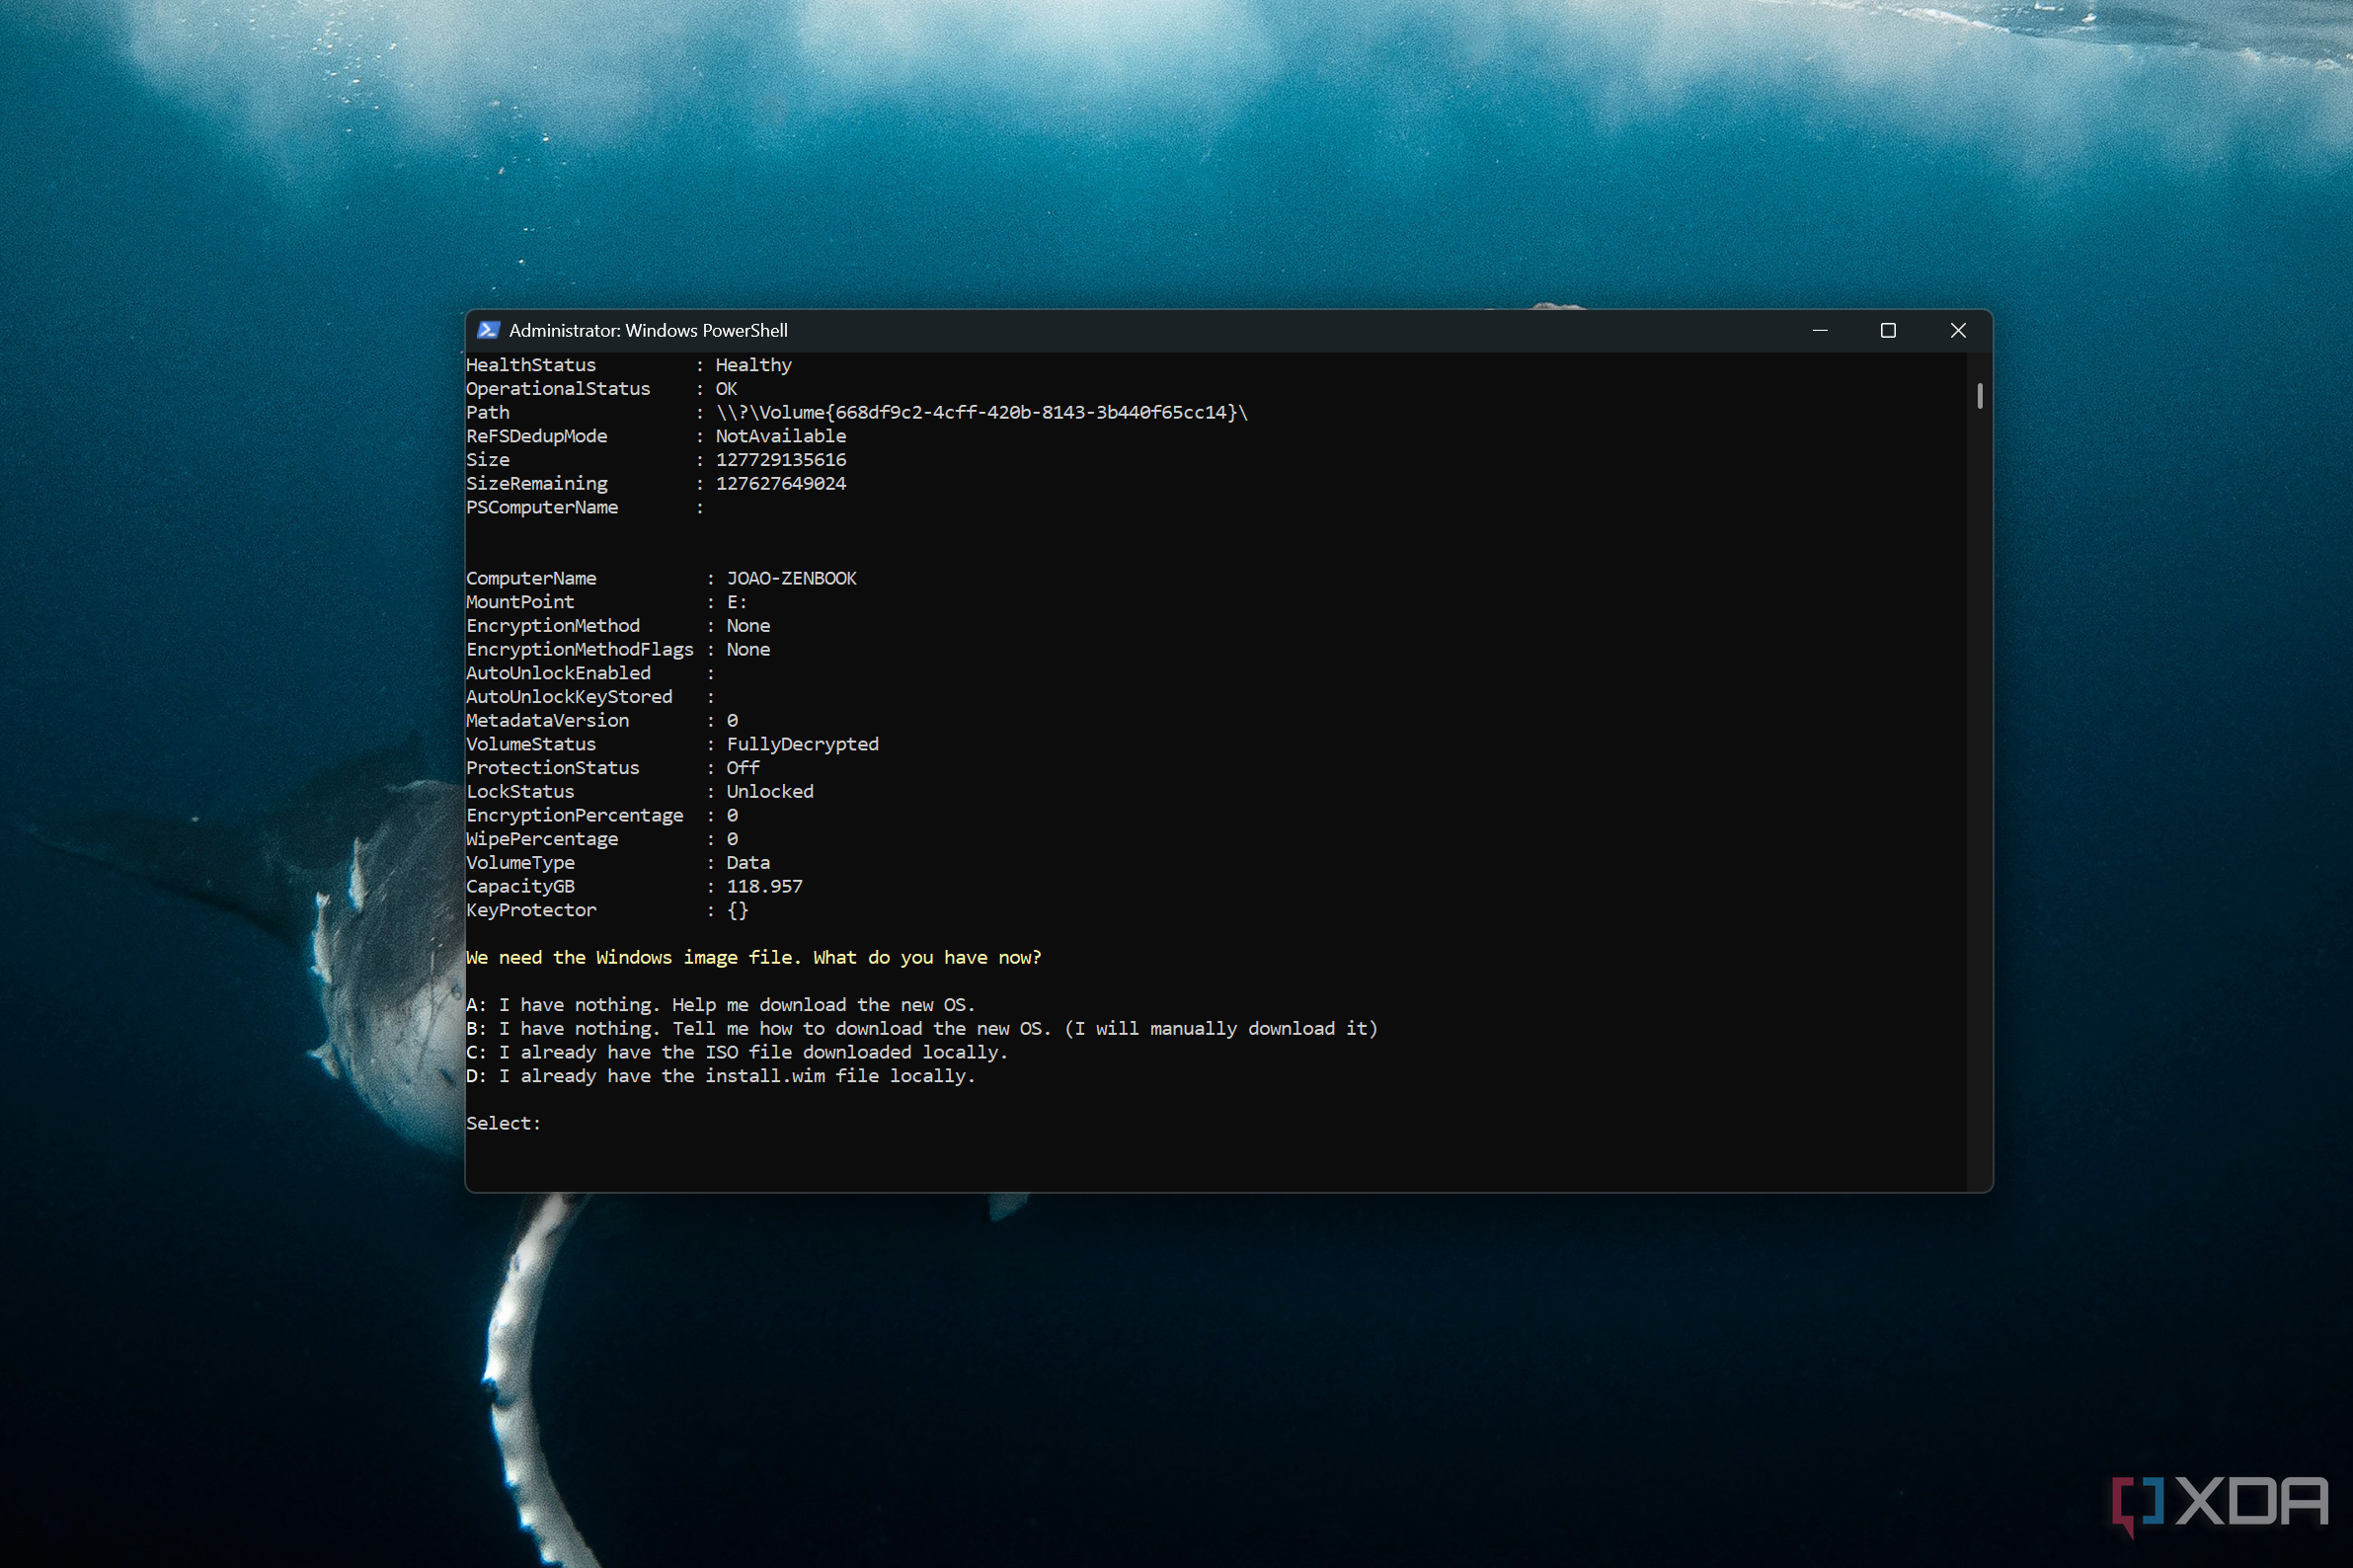
The script will prompt you for a few things, such as pointing to a completely empty drive on your PC for the new Windows install and asking you which edition of Windows to install from the ISO. Make sure this setting also matches your current Windows install so there are no issues with the license. You can also choose a name for the new boot entry on your PC. You can keep using your PC while everything is processed.
Once the process completes, you can reboot your PC and you can then choose between your current main install or your new one. You’ll want to choose your new one so you can finish setting up. While this lets you skip the initial setup, you’ll still need to go through the Windows 11 OOBE, which can be time-consuming.
Related
6 PowerShell scripts to automate and speed up your workflow
When you work through the CLI you save a lot of time. Here are PowerShell scripts to speed your workflow.
Installing the apps you need
Make your new instance fully ready
Of course, just having your new Windows instance bootable isn’t all it takes to make it ready for use. You also need all your apps, and you might want to remove some of the bloatware Microsoft includes with the operating system. This part is a little more tricky, as you’ll want to design and create the PowerShell modules you specifically need for the apps you want. The GitHub project provides an example install.ps1 file that’s suitable for that original user, but you’ll have to modify it to suit your needs. In fact, you should fork the repository to your own GitHub account (or clone it) so you can make changes to the files as needed for your purposes.
When cloning the repository, be sure to clone the master branch, as the default main branch has very outdated files.
For example, this default script includes actions for installing Nextcloud, 7-Zip, ADB, and more. You can simply remove these lines from the install.ps1 file from your repository if you don’t want a given app, making it so that the installation processes for those apps don’t start.
Adding apps to the list is a little more complicated, though, as you’ll need to add not only the corresponding line to the install.ps1 file, but also create the corresponding components necessary to ensure the app will be installed through WinGet. That means creating a new file with the psm1 extension in the components folder of your repository, with the appropriate command for installing the app you want through Winget. Taking one of the examples from the existing repository, this is the module used to install 7-Zip, which is one of the apps on the provided list.
That first line will be mandatory, as it imports the components necessary for installing apps through Winget, and the second line is for another module that will add the app’s path to the system environment variables. The rest of the module runs the installation command and presents the appropriate text.
For most apps, you can just duplicate this file and rename it to the name of the app you want, then change the 7zip.7zip string to full name of the app you want to install through Winget. For example, to install my personal favorite browser (Vivaldi), I’d change the name of the PSM1 module to InstallVivaldi and then change that like to look like this:
Of course, I would also need to change the last line so it matches the name of the file, and I wouldn’t need the line for adding the path to the environment variables. You can repeat this process for any apps you want to install at once. Once all your files are set up on GitHub (or another git repository), you can launch the process with this PowerShell command, replacing YOUR-URL-HERE with the link to your raw install.ps1 file:
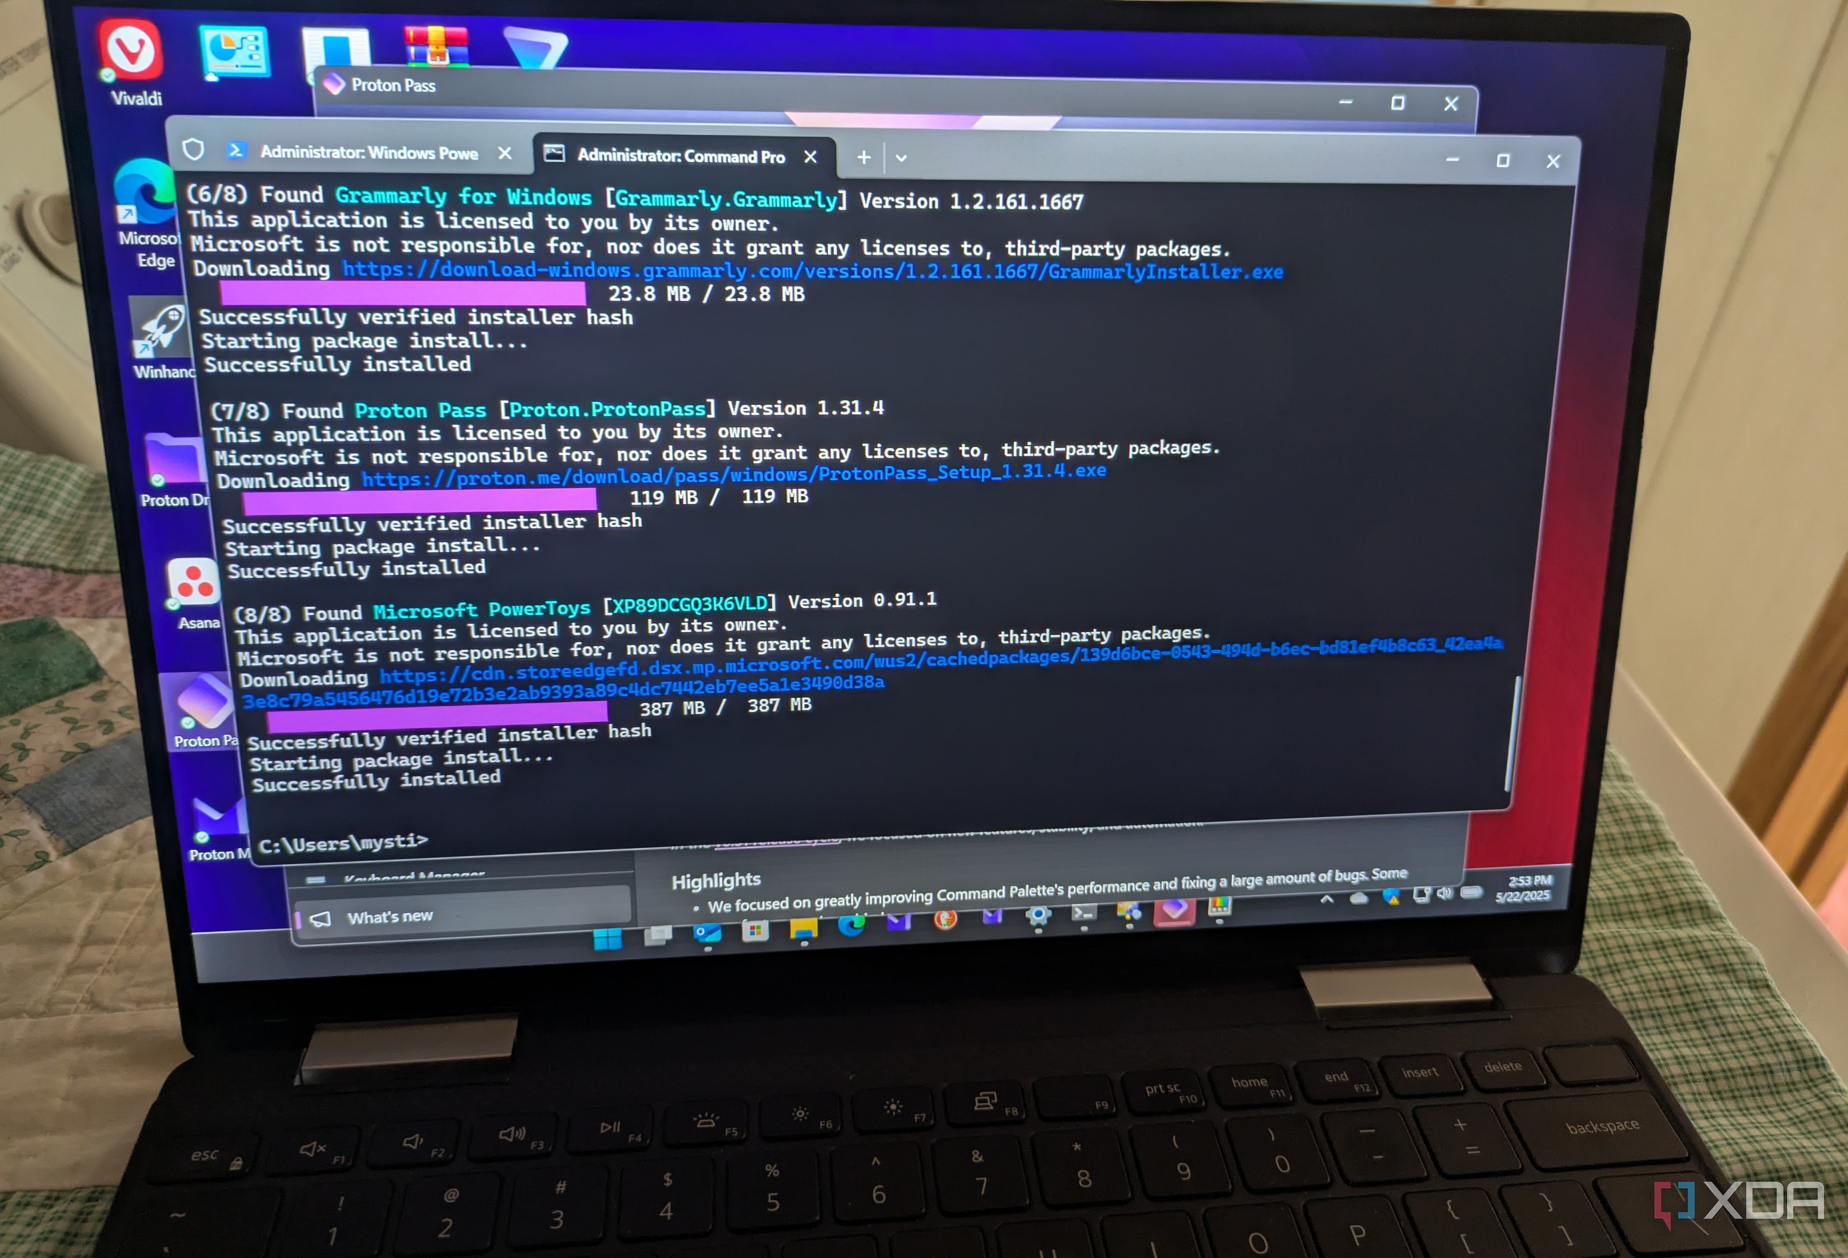
This will also require some tweaking, as you’ll need to replace some paths with the names that match the repo you created. Based on the script above, you’ll replace REPO-NAME with the title of your repository, and YOUR-REPO-ZIP-URL-HERE with the link to the ZIP file containing your repository. Once it’s done correctly, though, the script will run and install all the apps defined inside the install.ps1 file (as long as there are matching .psm1 modules), as well as remove the apps you choose to delete.
Related
I keep all of my software up to date with Winget, and here’s how you can too
Whether you are an advanced user or a beginner, you can use Winget to update all your software.
Why even do this?
It’s meant for cloud-based users
This entire process is interesting, but as I stated at the top, it’s important to remember this won’t move all of your data over, and that’s not the point. This is meant more so for a “modern” scenario, where user data is stored in a cloud server such as OneDrive, and you primarily work out of there. All you need to do is sign into your cloud provider and all your data is readily accessible, so this whole process is only meant to refresh the operating system and your apps.
So, what’s the point of doing this at all? Well, Windows 11 is not a perfectly stable operating system, and over time, data can be corrupted and your ability to use your PC is impaired for one reason or another. Using this process means you can move to a fresh new install with significantly less downtime compared to downloading a new copy of Windows, creating a bootable USB drive, and going through the entire setup process. It saves you a lot of time in getting a new instance up and running, but it’s still made for those who don’t rely on locally-stored data.
In some cases, the cloud is even important for this migration to work properly. For example, if you want to keep your Windows Terminal profile setup on the new instance, you can store the configuration file in OneDrive and have it be pulled on the new installation, as the example script does.
Related
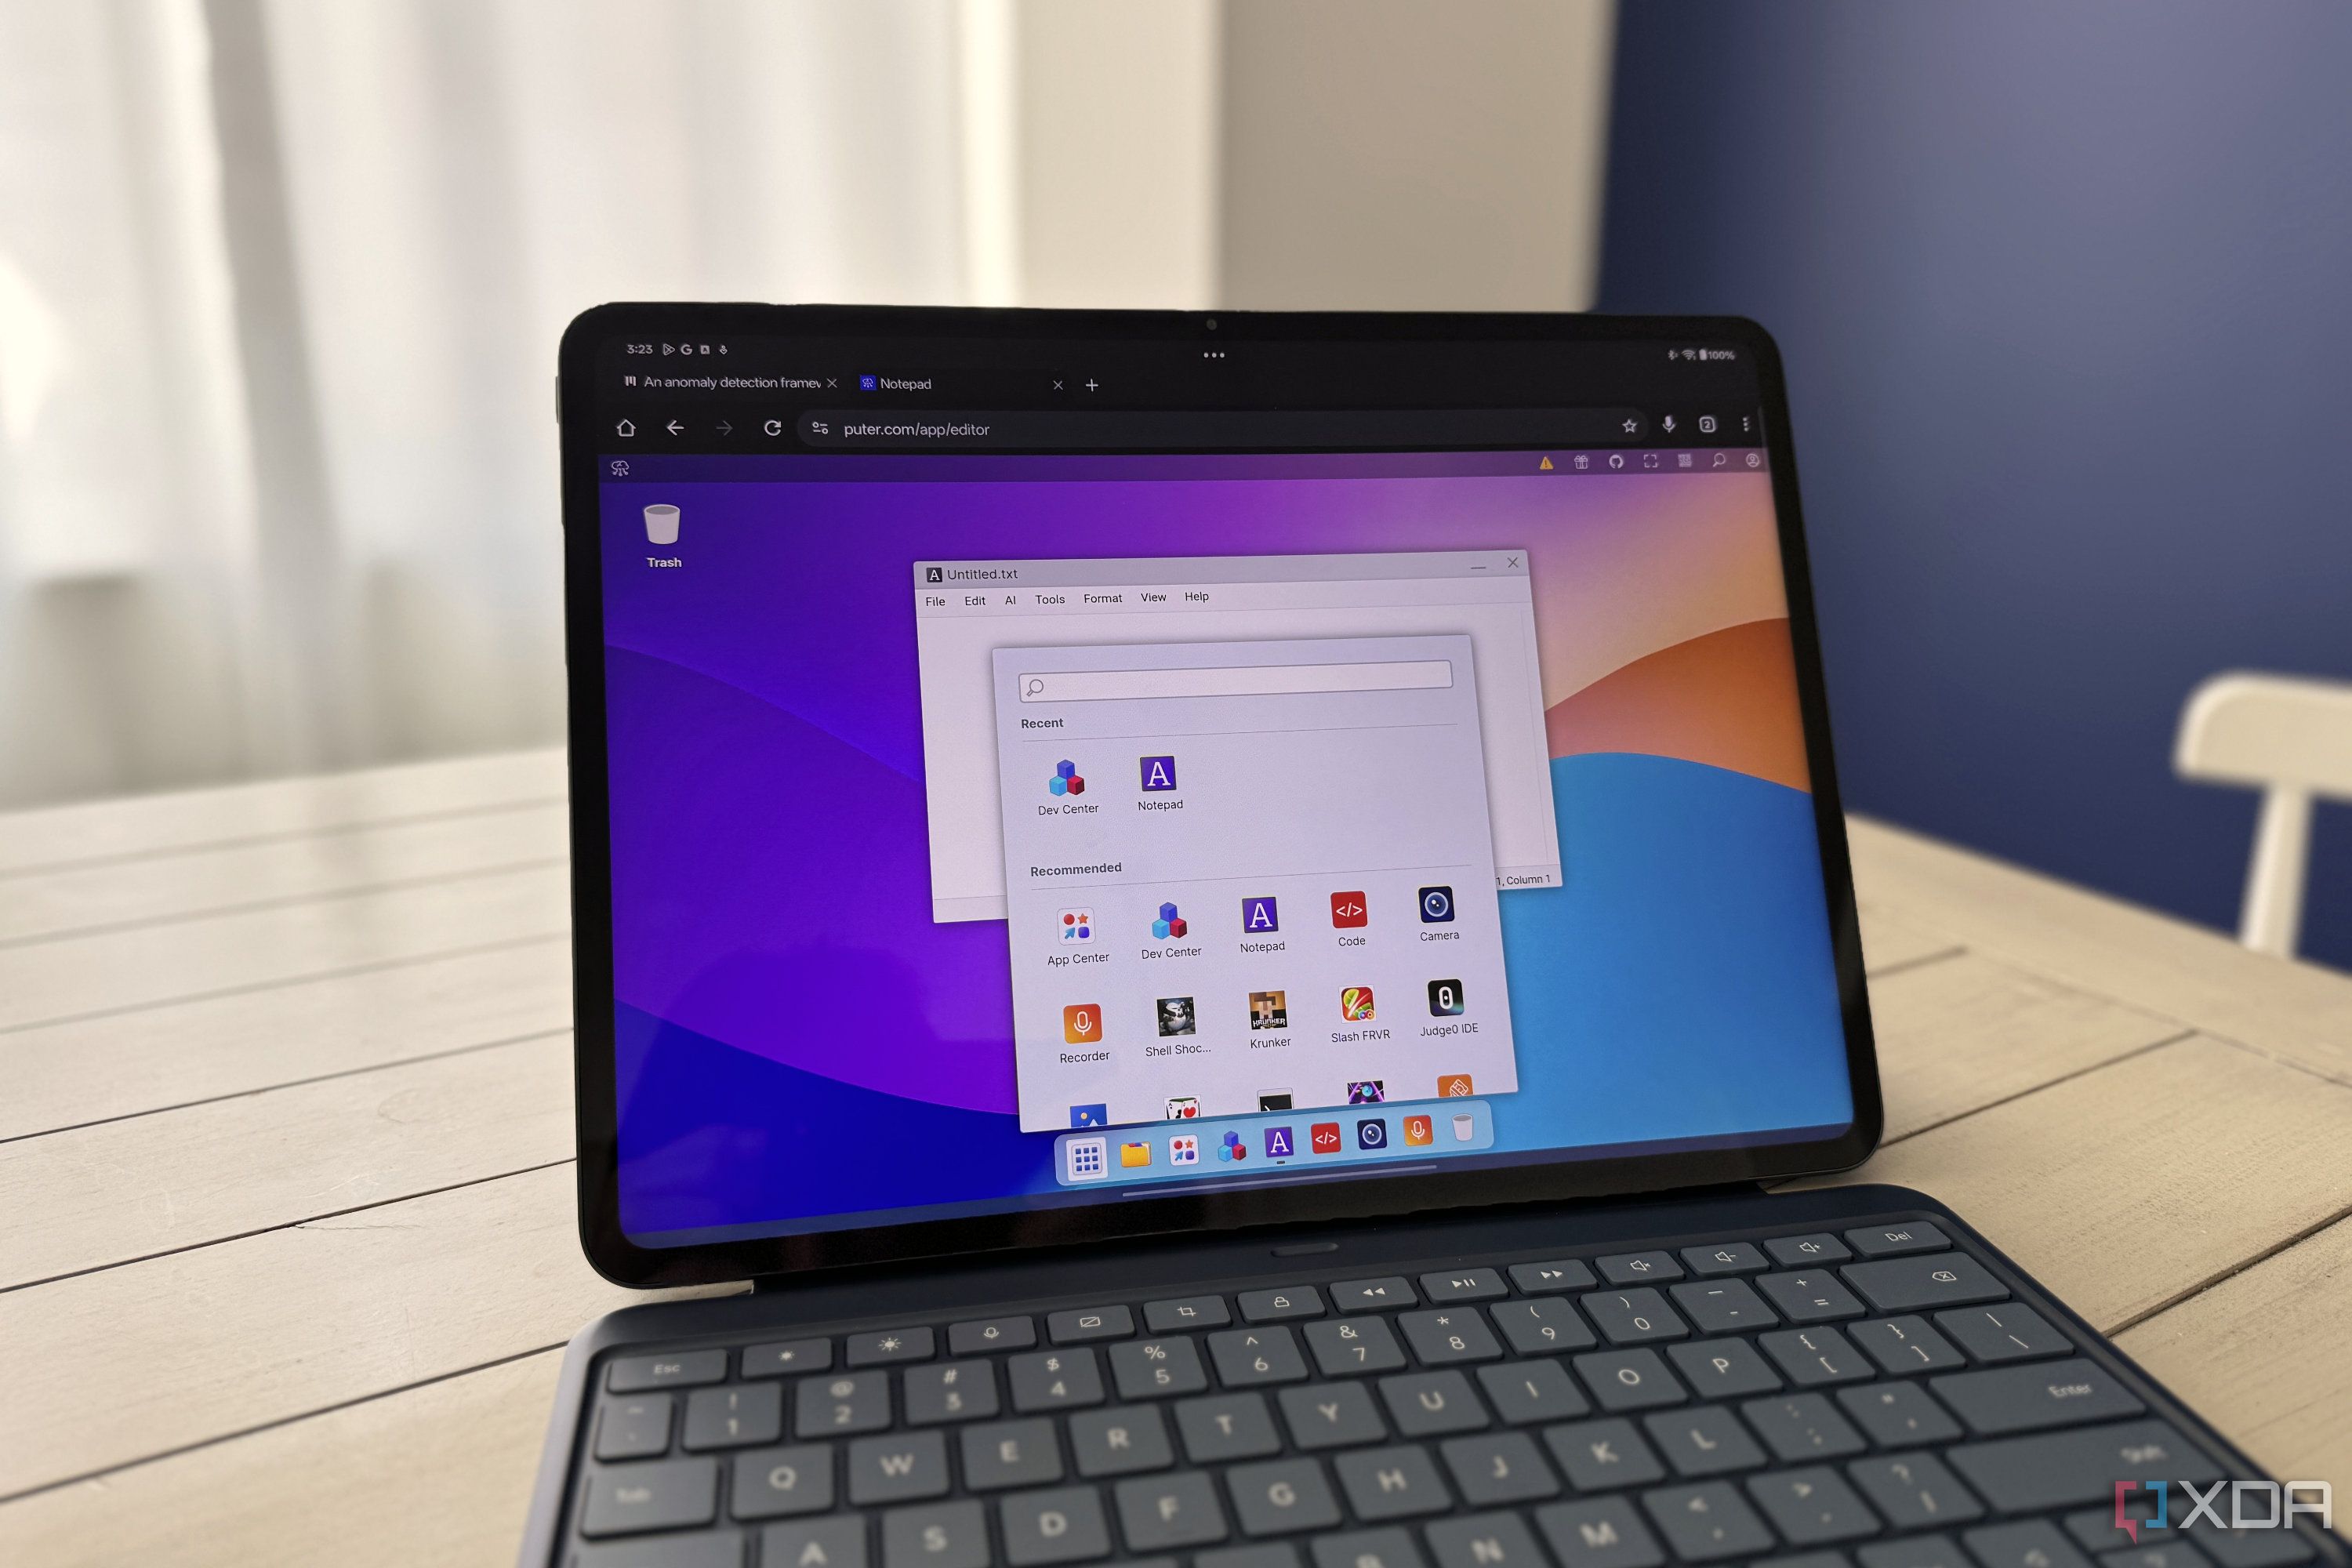
This cracking cloud computer can be anything I want
Puter is my new favorite thing.
Systematic migrations made easy
For a regular user who just needs to reset their PC once in a blue moon, this kind of system takes too long to setup to really be worth it, but if you’re someone frequently having issues with Windows and needing a clean install, it’s worth it to take the time to configure this process in full so you can easily replicate a base system with all the programs you need with significantly less downtime during the migration.